|
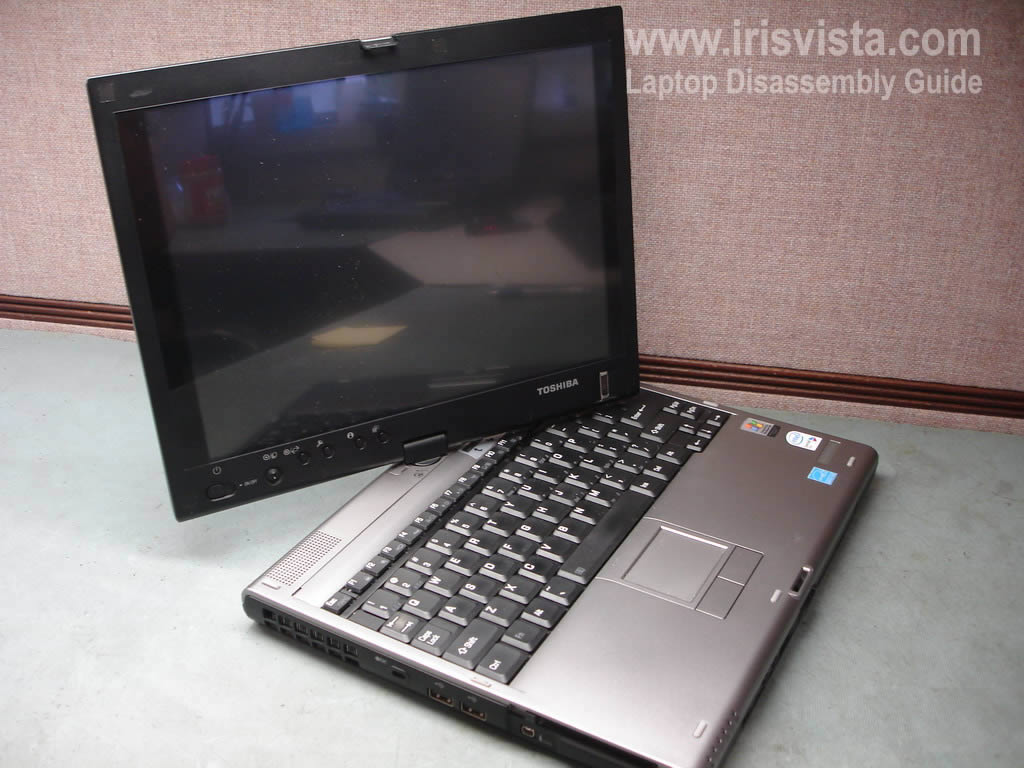
Toshiba Portege M400 screen removal.
|
|
|
 |
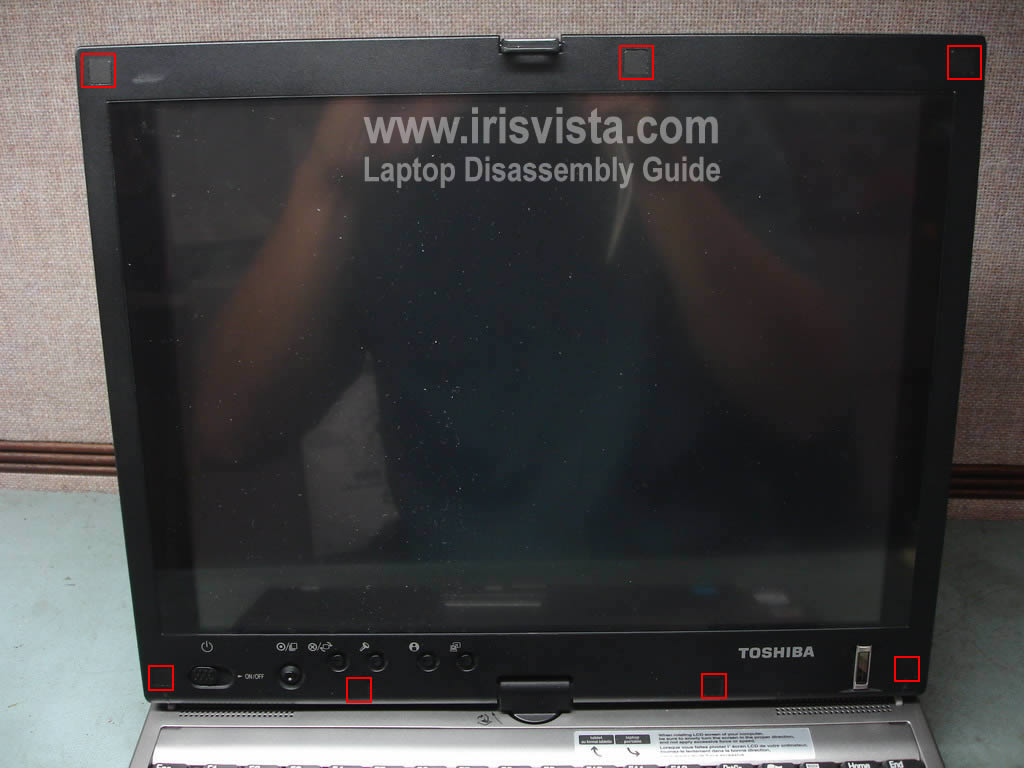
STEP 1
Before you start, remove the battery.
You'll find seven screw seals located on the LCD front cover (LCD mask).
Remove all seven screw seals with a sharp object.
Remove all seven screws found under the seals.
|
| |
|
 |
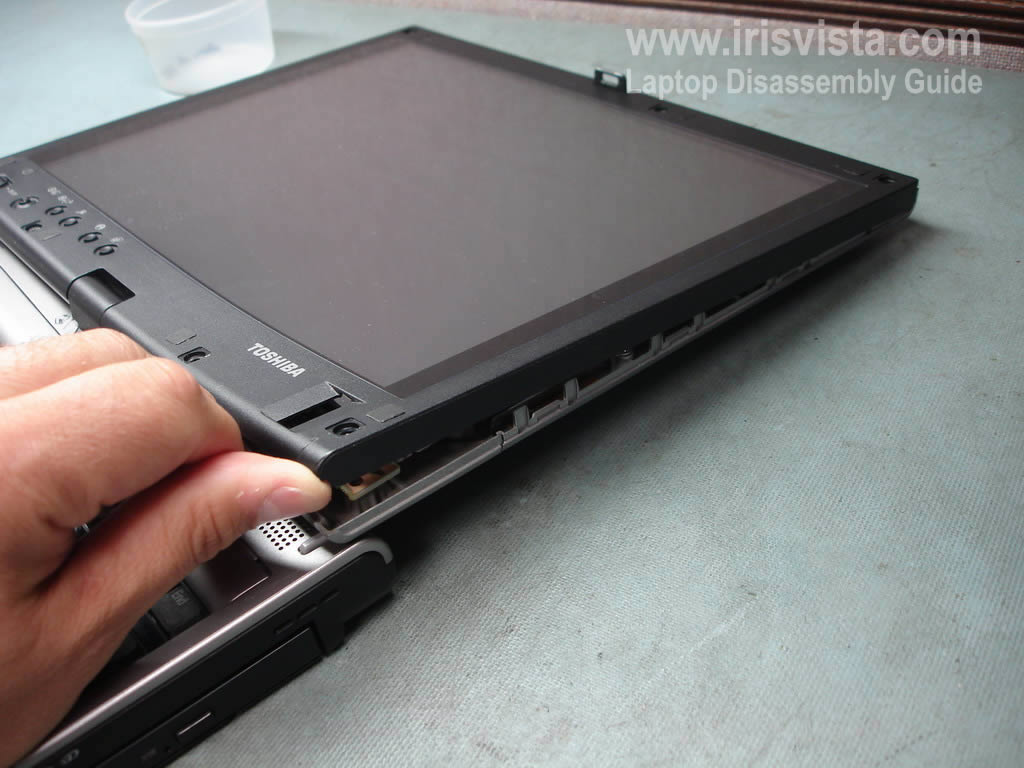
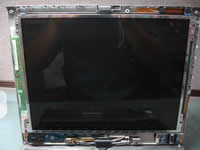
STEP 2
Carefully separate the LCD mask from the LCD back cover.
|
| |
|
 |
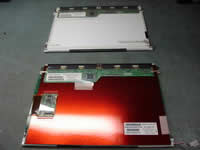
STEP 3
The LCD mask has been removed.
If you had dust inside the display panel, now it's time to clean the screen. You can use soft cloth.
|
| |
|
 |
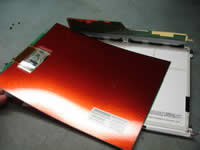
STEP 4
Remove four screws securing the LCD screen to the back cover. |
| |
|
 |
STEP 5
Access the back side of the screen.
Disconnect two cables from the LCD screen and digitizer. |
| |
|
 |
STEP 6
Now unplug the screen backlight cable from the inverter board.
|
| |
|
 |
STEP 7
If the display panel on your Tablet PC is loose and wobbly, you can tighten the hinge.
Tighten two screws securing the hinge.
|
| |
|
 |
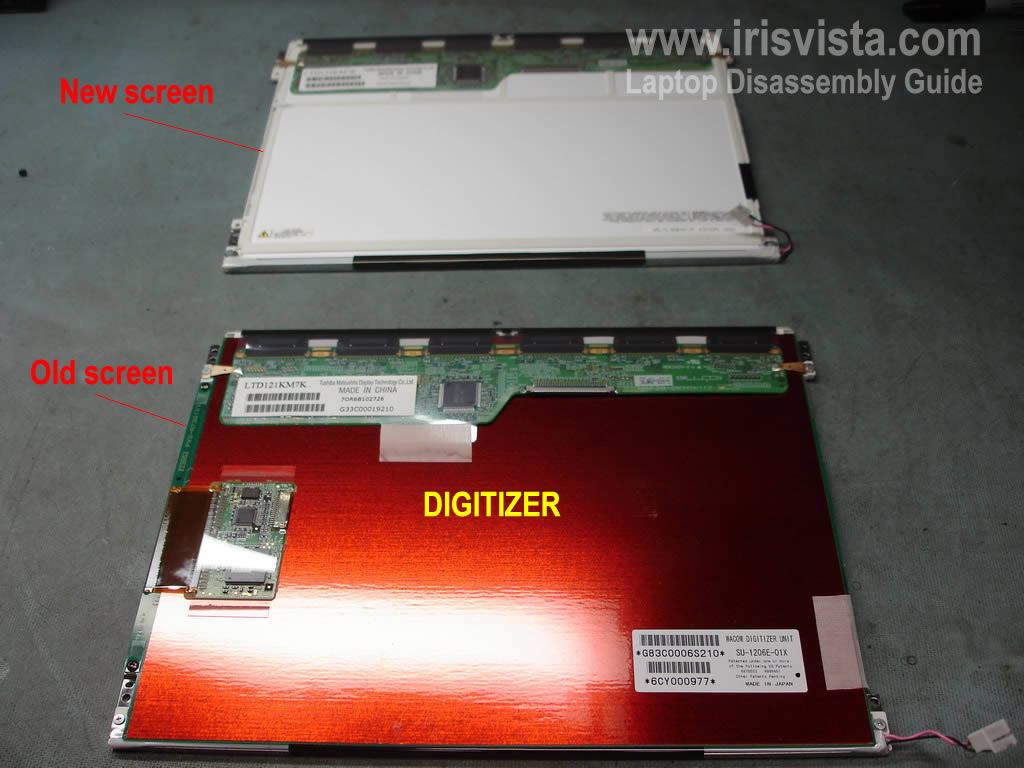
STEP 8
If you are replacing the LCD screen, you'll have to remove the digitizer unit and transfer it to the new screen.
|
| |
|
 |
STEP 9
Remove two screws securing the screen controller board and two screws securing the screen digitizer. |
| |
|
 |
STEP 10
Carefully remove the digitizer unit and transfer it to your new LCD screen. |
| |
|
|
|