|
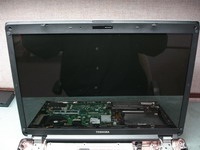
Toshiba Satellite L355/L355D , L350/L350D screen removal.
|
|
|
 |
STEP 1
Before you can disassemble the display panel, you'll have to remove the top cover assembly. You cannot remove the LCD bezel without removing the top cover.
Follow steps 1-12 in this disassembly guide.
|
| |
|
 |
STEP 2
Remove four screw seals from the LCD bezel.
You can use a small flathead screwdriver.
|
| |
|
 |
STEP 3
Remove four screws found under the seals you just removed. |
| |
|
 |
STEP 4
Now we are going to remove the LCD screen bezel and it's not easy.
Insert fingers between the bezel and LCD screen and at the same time start separating the bezel from the LCD cover with a guitar pick (or any other piece of soft plastic).
Move the guitar pick along the side unlocking plastic latches. |
| |
|
 |
STEP 5
Continue removing the bezel.
|
| |
|
 |
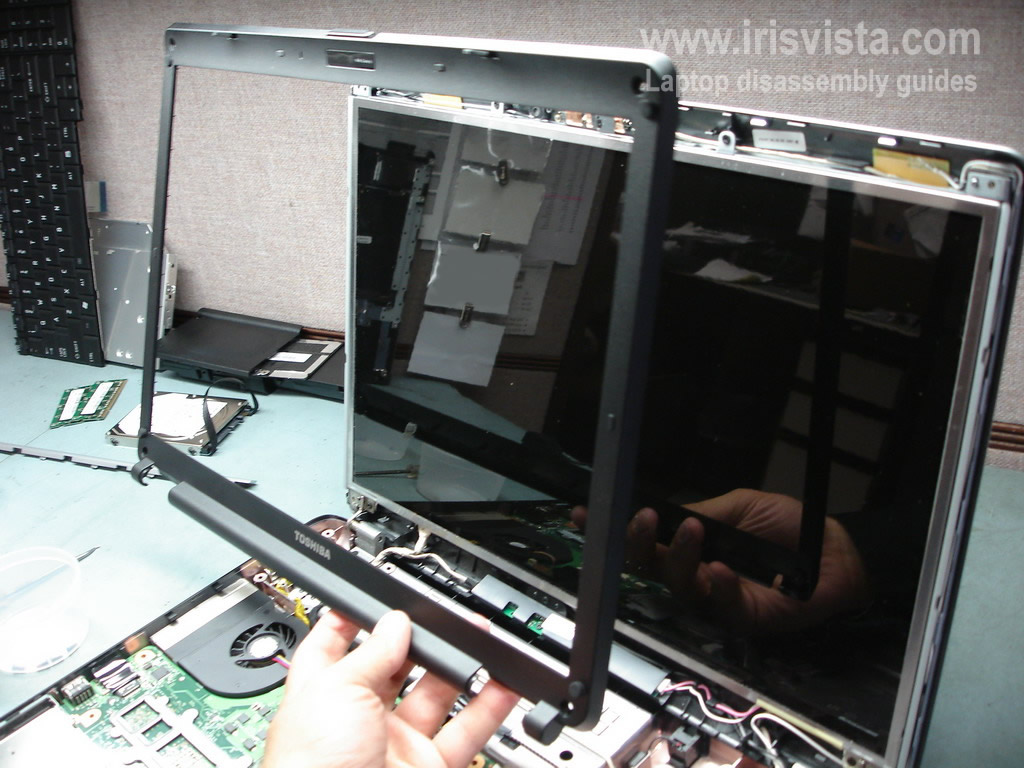
STEP 6
The LCD screen bezel has been removed. |
| |
|
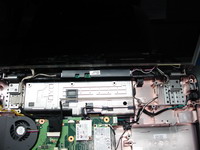 |
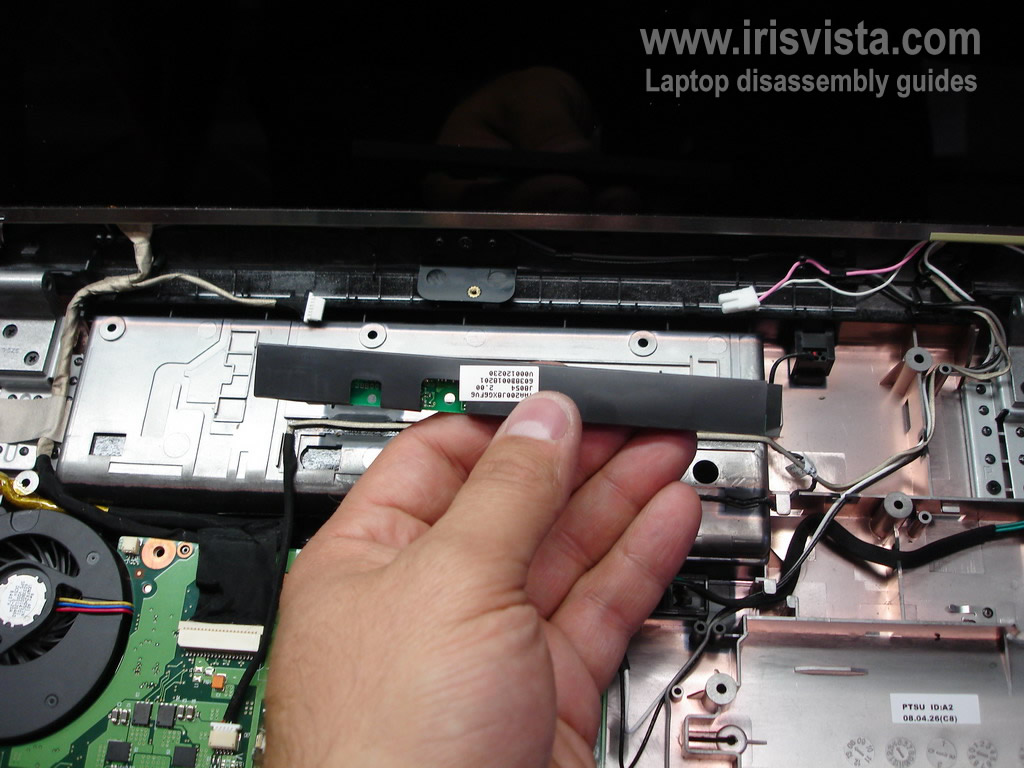
STEP 7
Now you can access the inverter board.
Remove one screw securing the inverter.
Unplug cables from both sides of the inverter.
|
| |
|
|
STEP 8
The screen inverter has been removed. Now you can replace it with a new one. |
| |
|
 |
STEP 9
Remove six screws securing the LCD screen to the back cover.
|
| |
|
 |
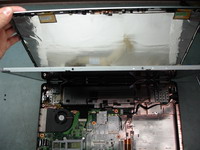
STEP 10
Access the back side of the screen.
Disconnect the video cable
from the connector on the screen.
Separate the video cable from the screen.
|
| |
|
 |
STEP 11
Remove two screws from the bracket on the top of the screen.
Remove the bracket. You'll have to transfer it to a new screen. |
| |
|
 |
STEP 12
Remove three screws on each side of the screen. |
| |
|
 |
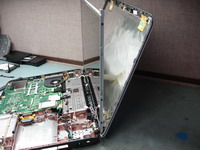
STEP 13
Carefully remove the screen. Now you can replace it with a new one. |
| |
|
 |
STEP 14
The LCD screen and inverter board have been removed.
|
| |
|
|
|