|
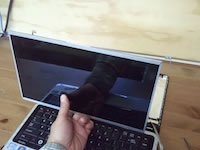
Toshiba Satellite L745, L745D, L740, L740D screen replacement.
Before you start the disassembly process make sure the laptop is turned off.
Unlock and remove the battery.
|
|
|
 |
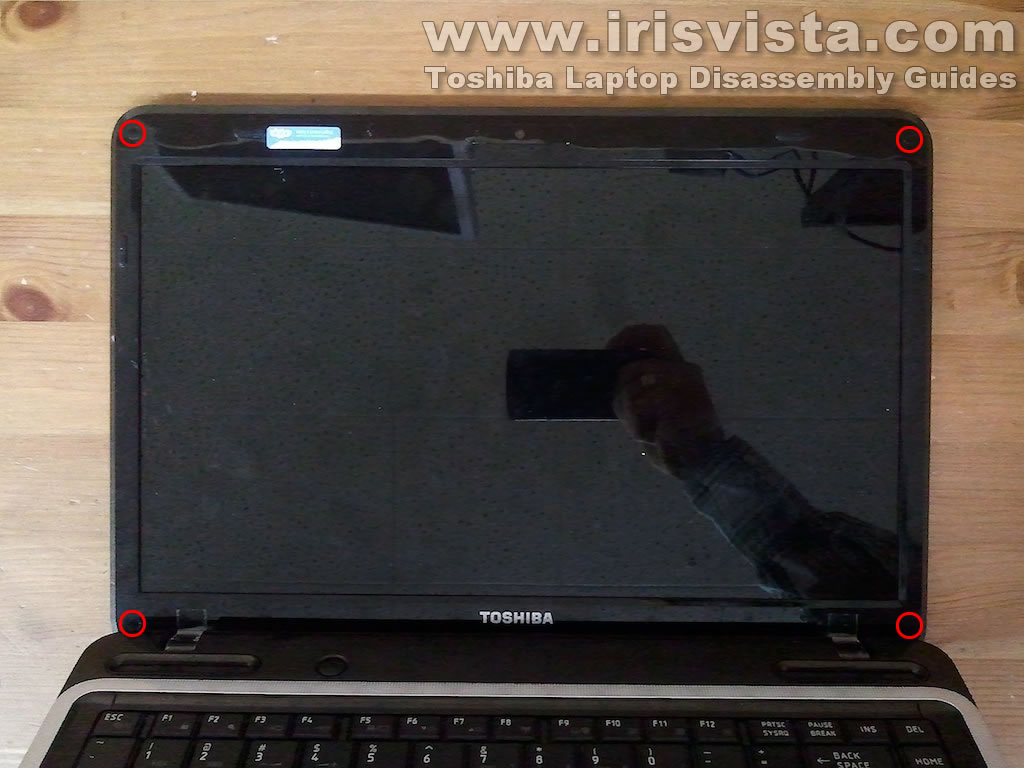
STEP 1
If you look at the screen bezel you will see four screw covers located in four corners of the bezel.
|
| |
|
 |
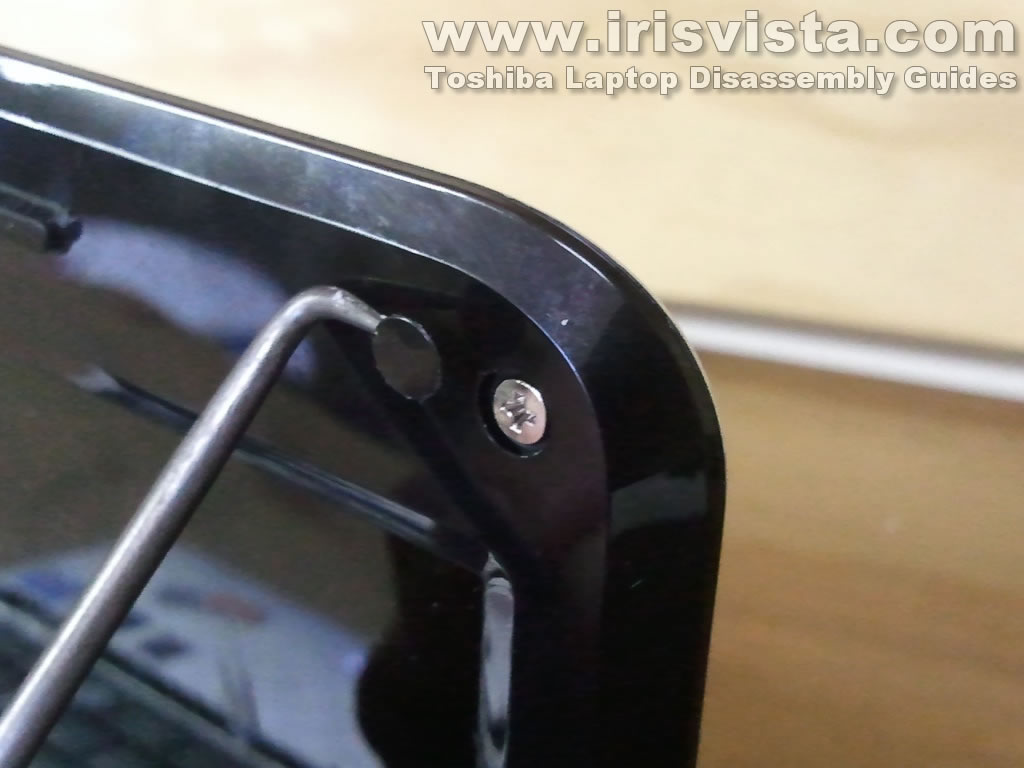
STEP 2
Using a sharp object remove four screw covers. Remove four screws located under the covers.
These screws securing the bezel to the display back cover.
The screw cover has sticky bottom. Glue it somewhere on the bezel temporarily so it doesn't get lost.
|
| |
|
 |
STEP 3
Now you can start separating the screen bezel from the display back cover using a guitar pick (or any other piece of plastic). |
| |
|
 |
STEP 4
Continue separating the bezel with your fingers.
You'll have to wiggle the bezel in order to unlock hidden latches. |
| |
|
 |
STEP 5
Now move to the bottom side of the display assembly.
Hinge covers are part of the bezel. |
| |
|
 |
STEP 6
Remove the bezel from the display assembly. |
| |
|
 |
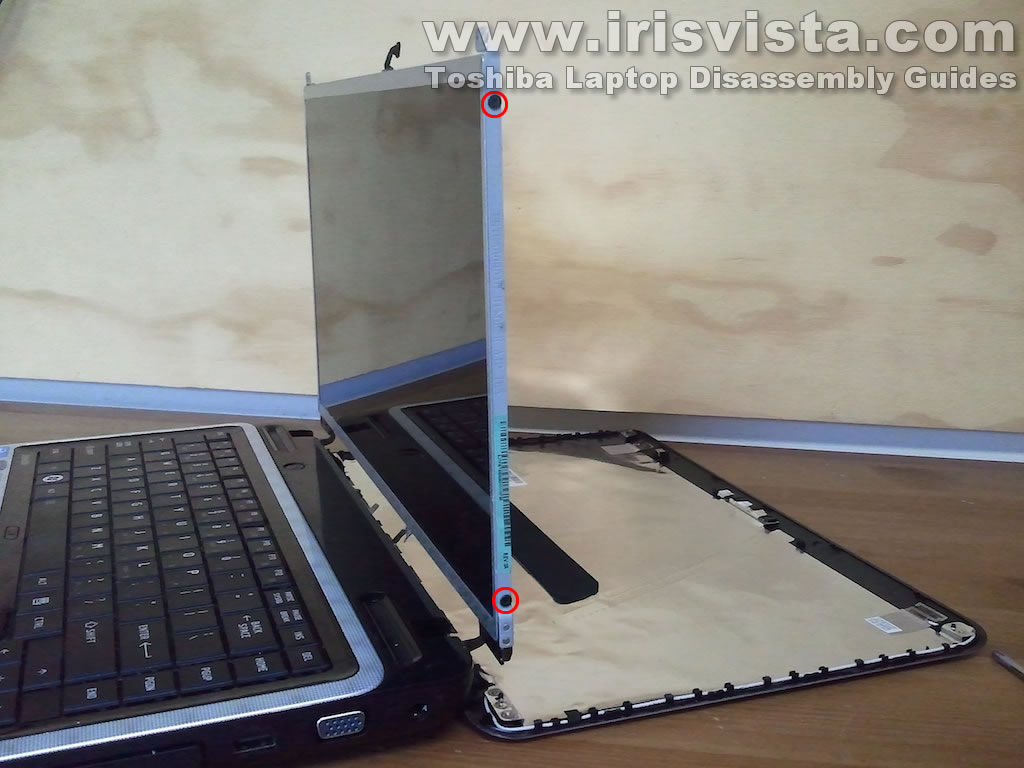
STEP 7
Remove two screws securing display hinges to the back cover. |
| |
|
 |
STEP 8
Unplug the web camera cable. |
| |
|
 |
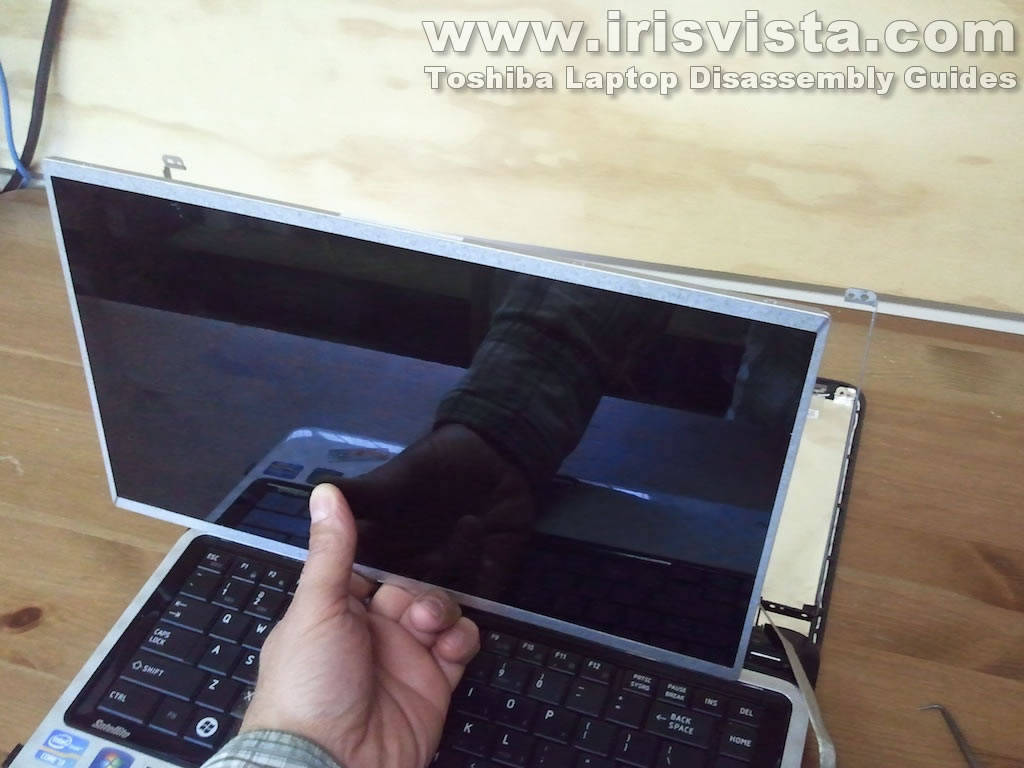
STEP 9
Now you can separate the display back cover from the screen.
Remove two screws securing the LCD screen to the right hinge bracket. |
| |
|
 |
STEP 10
Remove two screws securing the LCD screen to the left hinge bracket. |
| |
|
 |
STEP 11
Carefully unglue the web camera cable from the back of the screen.
The web camera cable is part of the display cable harness.
|
| |
|
 |
STEP 12
Remove sticky tape securing the display cable connection.
Unplug the display cable from the screen.
|
| |
|
 |
STEP 12
Now you can remove the failed or damaged LCD screen and replace it with a new one.
You can search for a replacement screen using the model number from the sticker on the original screen.
Replace the screen and assemble the laptop following all steps in the reverse order.
|
| |
|
|
|