|
Toshiba Tecra 8100 display disassembly.
|
|
|
 |
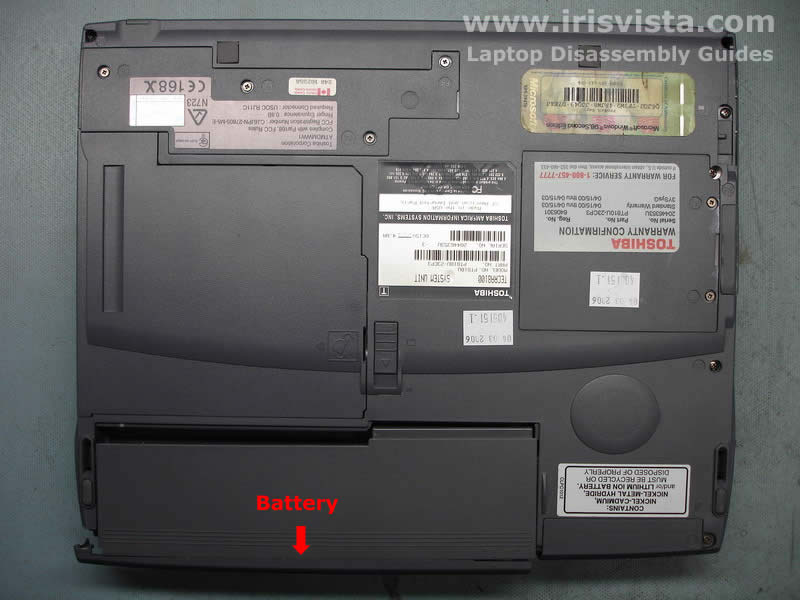
STEP 1
Before you open the laptop display assembly, do not forget to remove the battery. I burned some equipment in the past only because I forgot to remove the battery. |
| |
|
 |
STEP 2
Remove two screw seals covering the LCD mask screws. Remove the screws.
I usually stick the screw seals close to the screws because it is easy to loose them if you put them somewhere else.
|
| |
|
 |
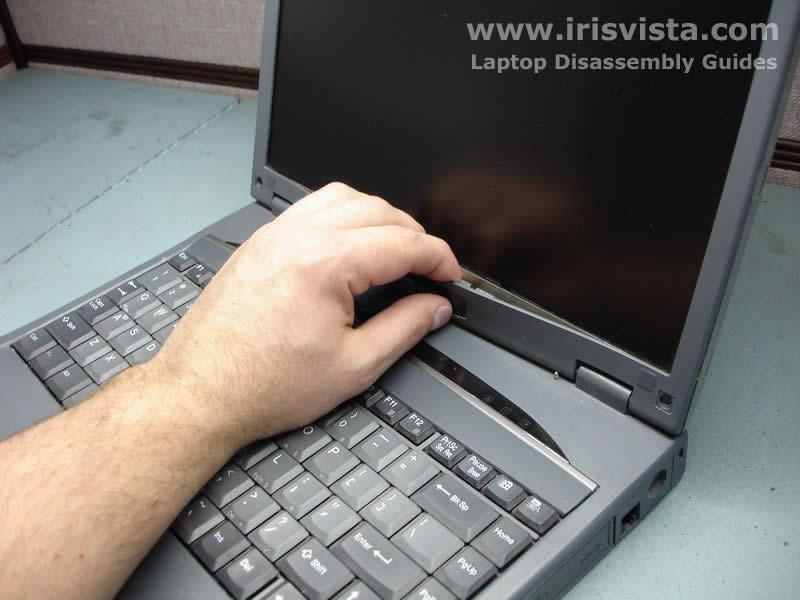
STEP 3
Start removing the LCD screen mask with your finger. DO NOT USE a screwdriver because you can damage the screen.
The LCD mask is very fragile. Be careful and do not twist it too much or you'll break it. |
| |
|
 |
STEP 4
Remove the screen mask. |
| |
|
 |
STEP 5
Disconnect two cables on the left and right sides of the FL inverter board. |
| |
|
 |
STEP 6
Carefully remove the FL inverter board from the display assembly and replace it. |
| |
|
|
|