|
Toshiba Tecra M2 screen replacement.
|
|
|
 |
STEP 1
First of all, remove laptop battery.
Remove two screw seals from the LCD screen bezel.
Remove two screws located under the seals. |
| |
|
 |
STEP 2
Remove three screw seals on each side of the display.
Remove screws.
|
| |
|
 |
STEP 3
Insert your fingers between the screen bezel and LCD screen.
Carefully separat the bezel from the display cover.
Continue removing the bezel. |
| |
|
 |
STEP 4
The screen bezel has been removed. |
| |
|
 |
STEP 5
Carefully remove the LCD screen and place it the face side down. |
| |
|
 |
STEP 6
Disconnect the video cable from the LCD screen.
If you are replacing the LCD screen, you'll have to transfer mounting brackets from the old screen to the new one.
Remove mounting brackets from both side of the LCD screen. |
| |
|
 |
STEP 7
Remove one screw securing the inverter board.
Unplug the video cable from the left side of the inverter. |
| |
|
 |
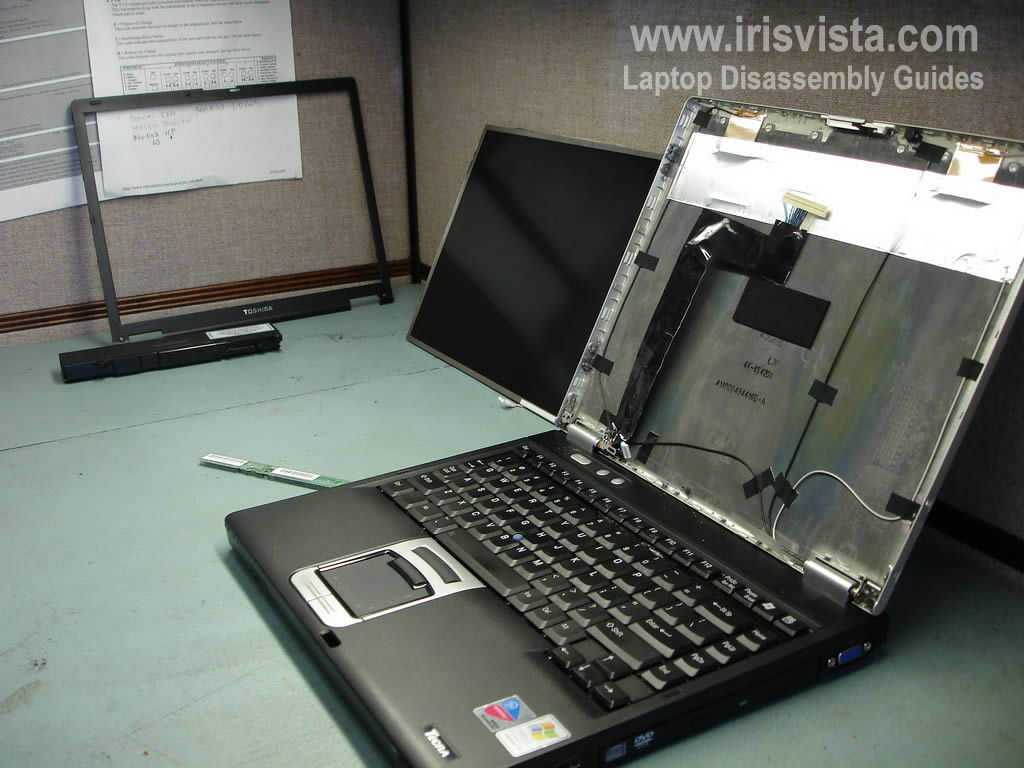
STEP 8
The laptop display has been disassembled. |
| |
|
|
|