|
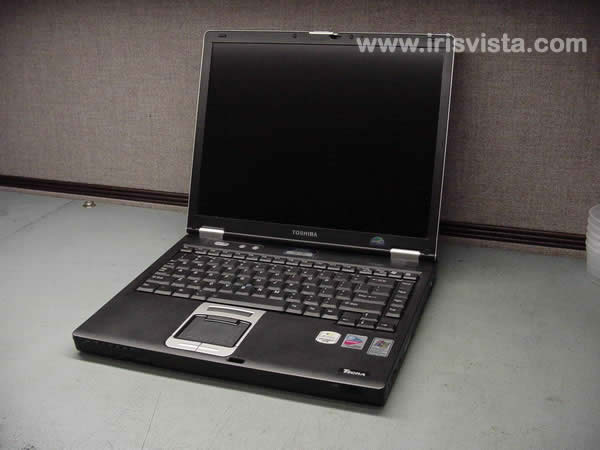
Toshiba Tecra M2 disassembly.
|
|
|
 |
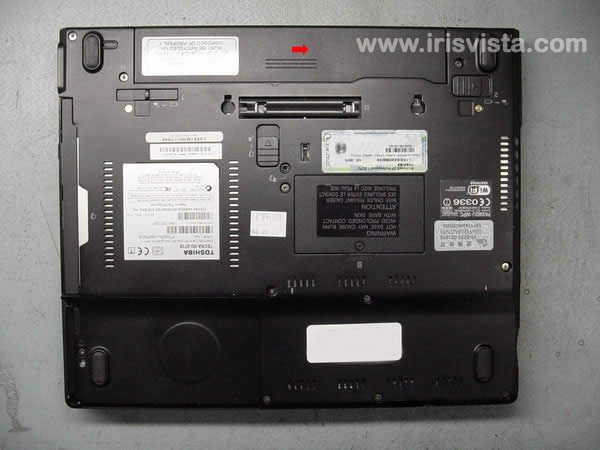
STEP 1
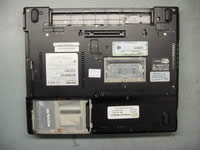
Turn the laptop upside down.
Remove the battery.
|
| |
|
 |
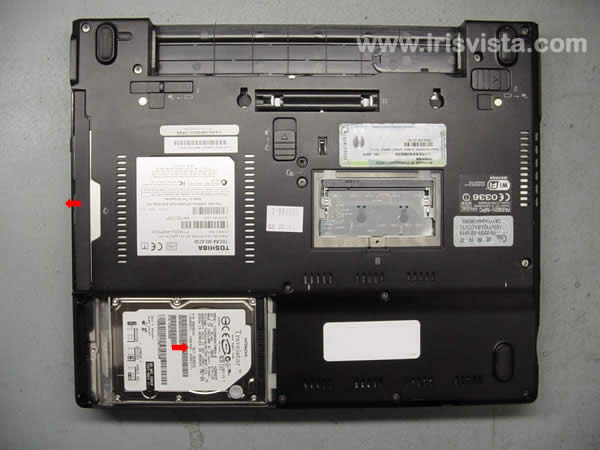
STEP 2
Remove two screws securing the hard drive cover and the memory cover.
Remove both covers.
|
| |
|
 |
STEP 3
Remove the hard drive and the DVD drive. |
| |
|
 |
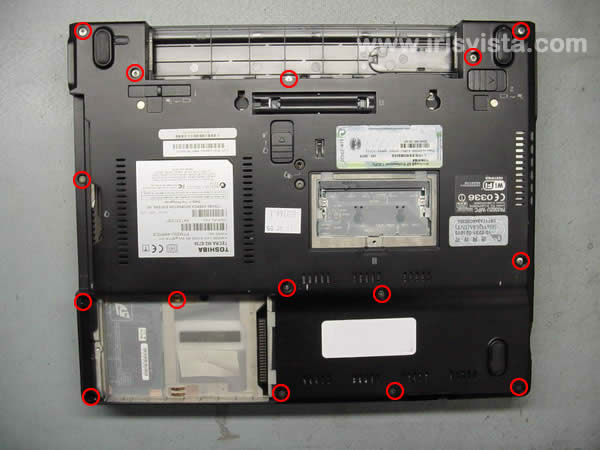
STEP 4
Remove all marked screws on the bottom of the laptop. |
| |
|
 |
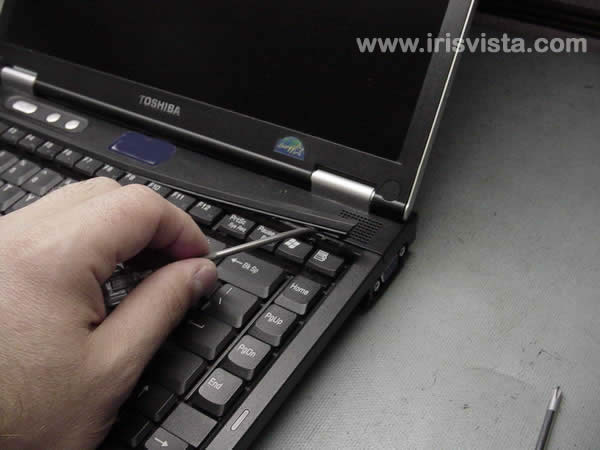
STEP 5
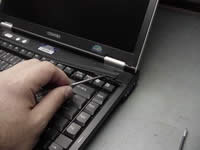
Turn the notebook right side up.
Insert a thin object under the securing strip and lift it up.
Be careful, it may be very tight.
|
| |
|
 |
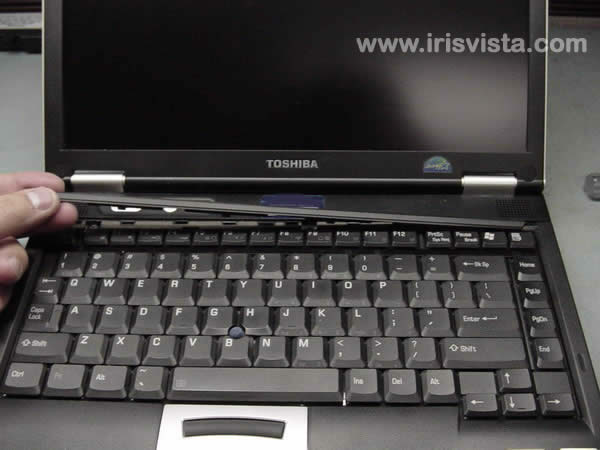
STEP 6
Remove the securing strip. |
| |
|
 |
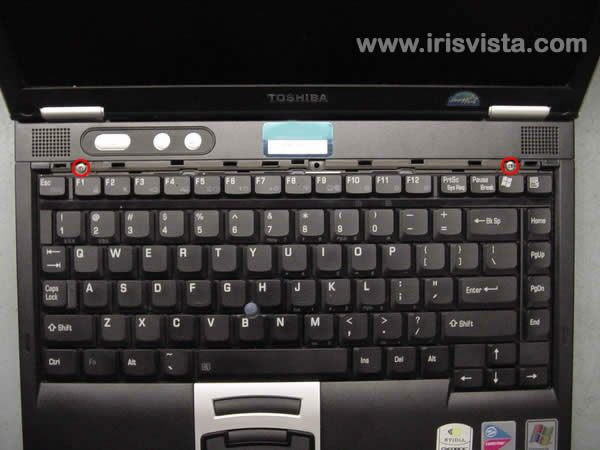
STEP 7
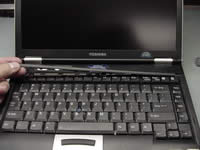
Remove two screws securing the keyboard.
Turn the keyboard over and place it on the palmrest. |
| |
|
|
STEP 8
Remove one screw securing a metal plate.
|
| |
|
 |
STEP 9
Disconnect the keyboard cable on the system board and remove the keyboard.
Remove the memory module.
Disconnect the RTC battery cable and the touchpad cable on the system board.
|
| |
|
 |
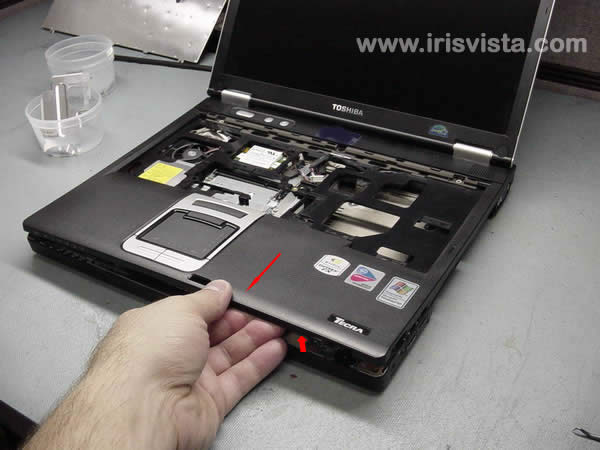
STEP 10
Remove three screws securing the top cover to the base of the laptop.
|
| |
|
 |
STEP 11
Lift off the top cover/touchpad assembly.
|
| |
|
 |
STEP 12
Remove the top cover/touchpad assembly.
|
| |
|
 |
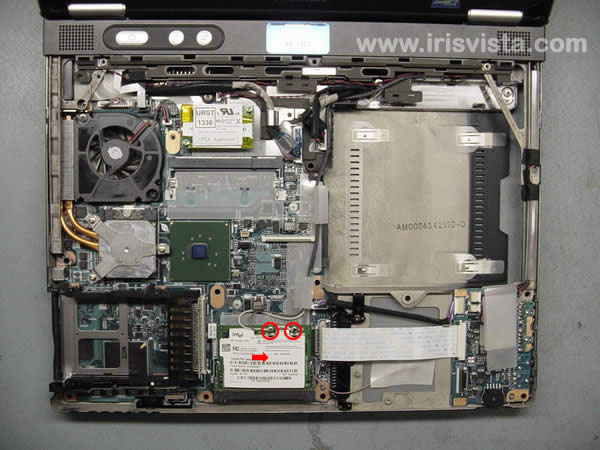
STEP 13
Disconnet the wireless card antenna cables.
Remove the wireless card.
|
| |
|
 |
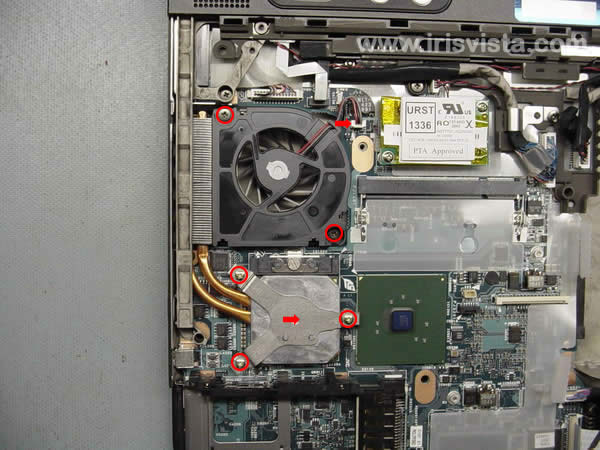
STEP 14
Remove two screws securing the cooling fan and disconnect the fan cable on the system board.
Lift off the CPU fan.
Remove three screws securing the heatsink.
Carefully lift the heatsink off the CPU. |
| |
|
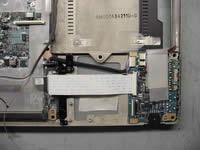 |
STEP 15
Disconnect the flat (white) cable on the system board and on the sound board. Remove the cable.
Remove one screw securing the plastic brace over the USB power cable. Remove the brace.
Disconnect the USB power cable (black) on the system board and on the sound board. Remove the cable.
Disconnect the microphone cable and the speaker cable on the sound board.
|
| |
|
|
STEP 16
Remove two screws securing the modem card. Lift off the modem card and disconnect the cable on the system board and on the modem card.
Remove one screw securing the LCD video cable. Lift off a metal brace and disconnect the cable on the system board.
|
| |
|
 |
STEP 17
Disconnect the power switch cable on the system board.
Disconnect the S-video/VGA cable on the system boad.
Remove four screws securing the upper cover/display assembly.
|
| |
|
 |
STEP 18
Lift off the upper cover/display assembly off the base and remove it.
|
| |
|
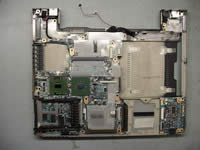 |
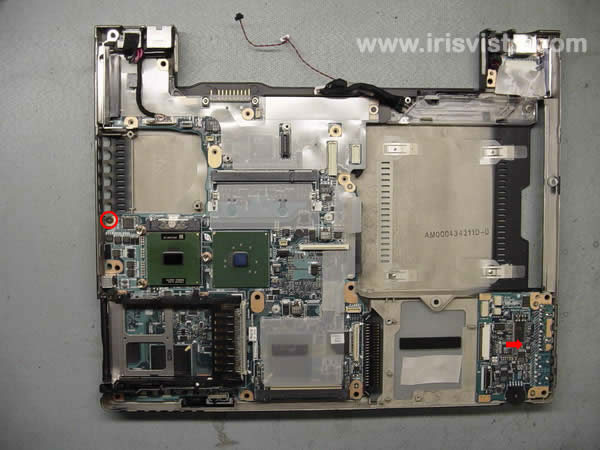
STEP 19
Remove the sound board.
Remove one screw securing the system board to the base. |
| |
|
 |
STEP 20
Slide up the LAN jack and DC-IN jack out of its housing on the laptop base. |
| |
|
 |
STEP 21
Lift up the right side of the system board. |
| |
|
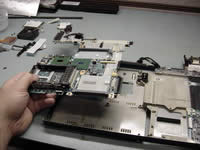 |
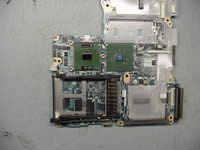
STEP 22
Remove the system board. |
| |
|
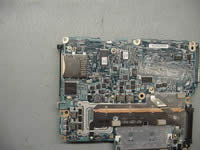 |
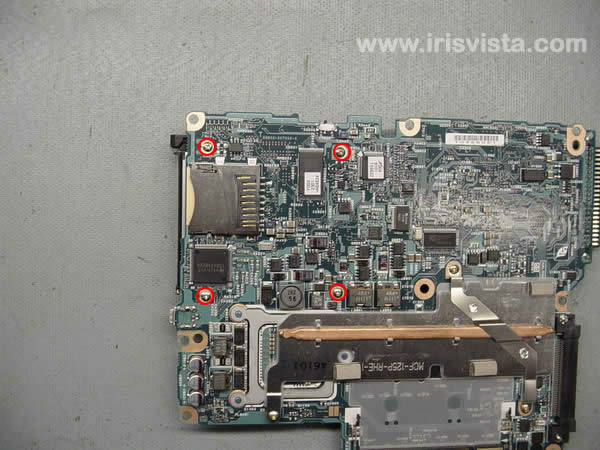
STEP 23
Remove four screws securing the PC card slot.
Turn the system board over.
|
| |
|
 |
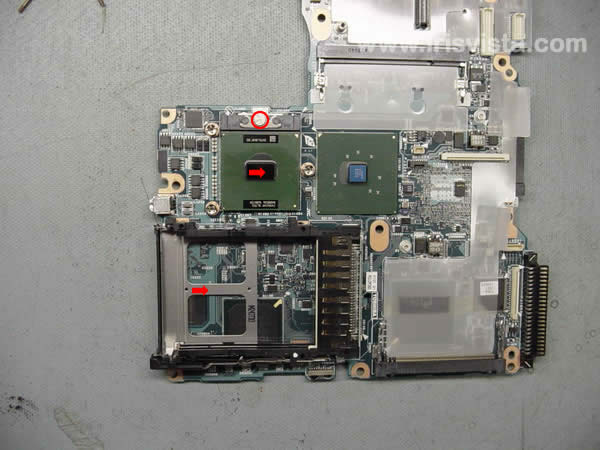
STEP 24
Lift up the PC card slot to disconnect it from the system board.
Unlock the CPU and remove it out of its socket.
|
| |
|
 |
STEP 25
Done !!!
|
| |
|
|
|