|
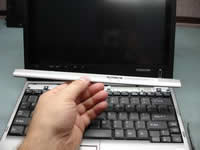
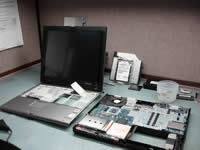
Toshiba Portege M400. Taking apart Tablet PC. |
|
|
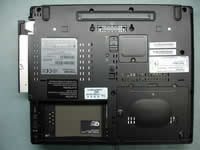 |
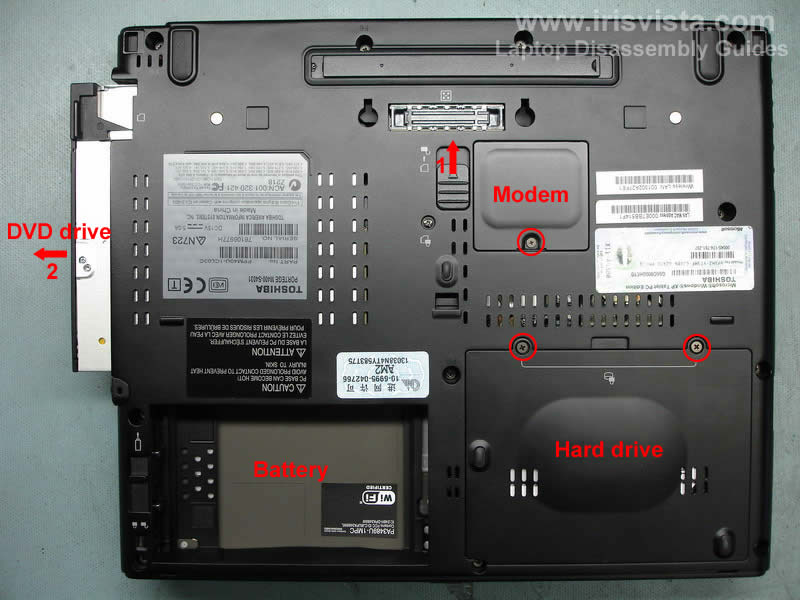
STEP 1
Unlock and remove the battery.
Open the lock (1) and pull the DVD drive (2) from the laptop.
Remove the hard drive cover.
Remove the modem cover. |
| |
|
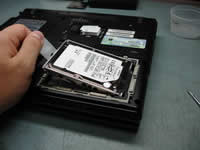 |
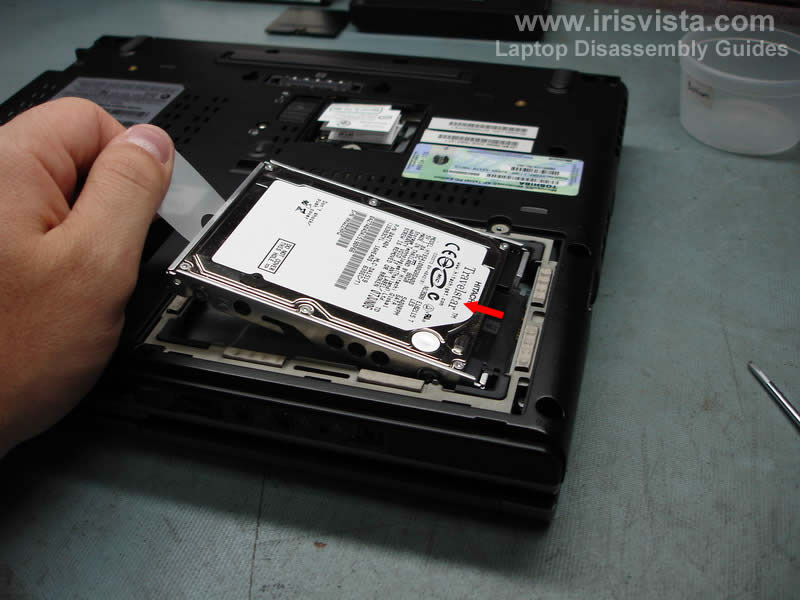
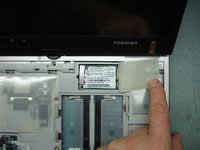
STEP 2
Lift up the hard drive and carefully pull it to disconnect from the laptop. |
| |
|
 |
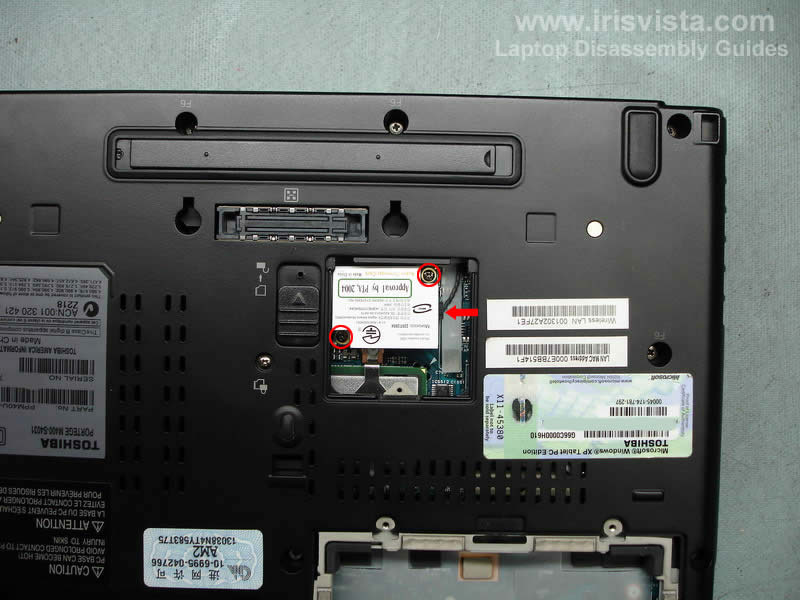
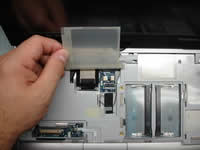
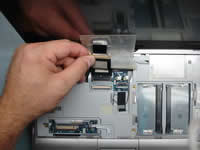
STEP 3
Remove two screws securing the modem card.
Carefully lift up the modem. It's connected to the motherboard via a connector located under the modem (you cannot see this connector on the picture).
When the modem is disconnected from the motherboard, unplug the cable pointed by the red arrow. |
| |
|
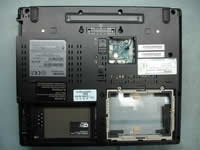 |
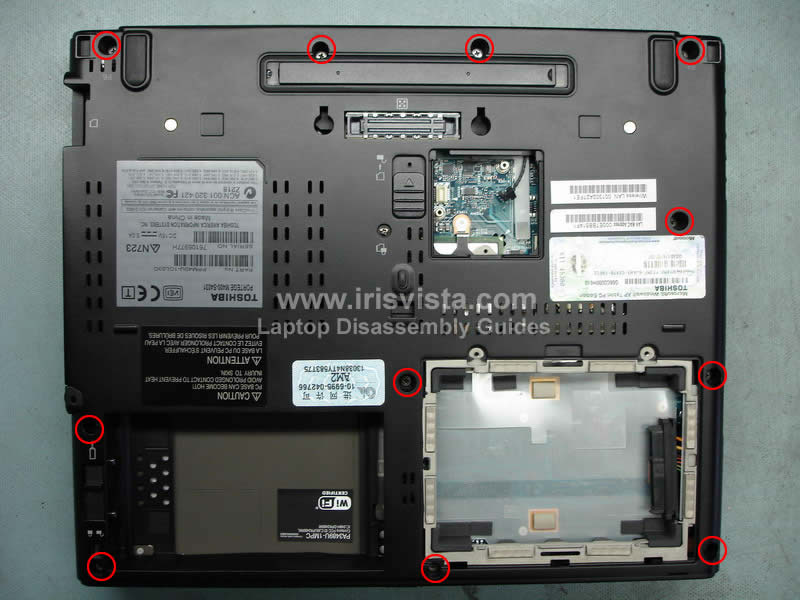
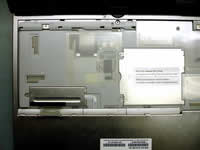
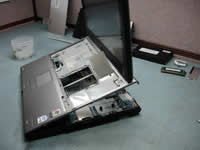
STEP 4
Remove all screws from the bottom case.
Now we are going to remove the keyboard.
Here's a tip for people who is only replacing the keyboard or removing the keyboard in order to access memory modules. You don't have to go through steps 1-4. Just remove the battery and go straight to the step 5. |
| |
|
 |
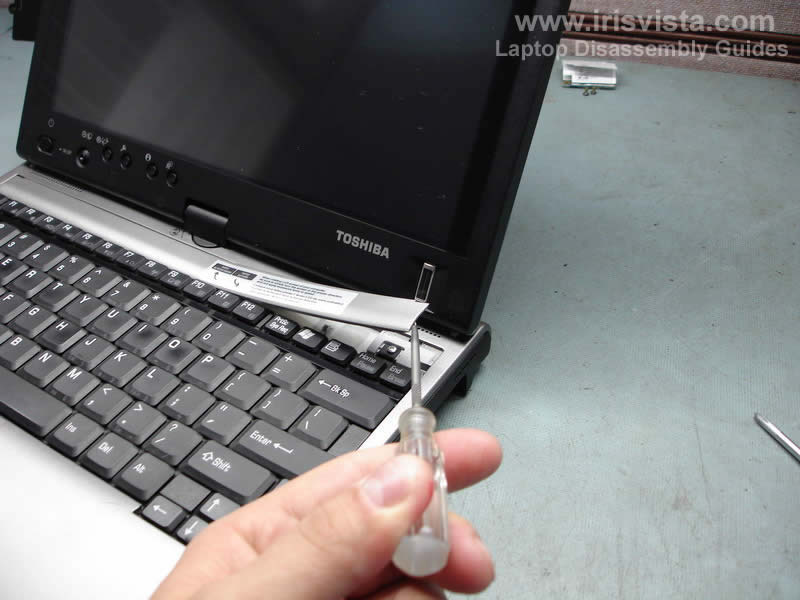
STEP 5
Lift up the keyboard cover and carefully unlock all remaining latches with your fingers. |
| |
|
 |
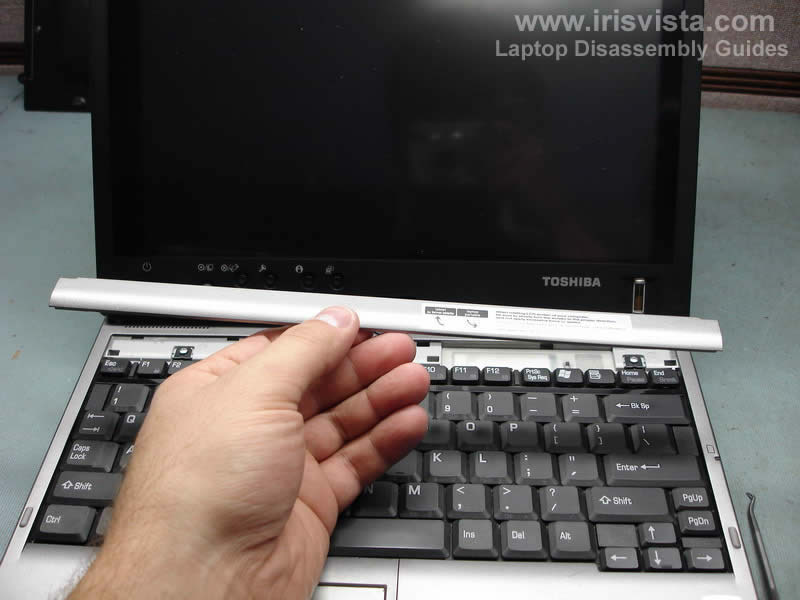
STEP 6
Remove the keyboard cover. |
| |
|
 |
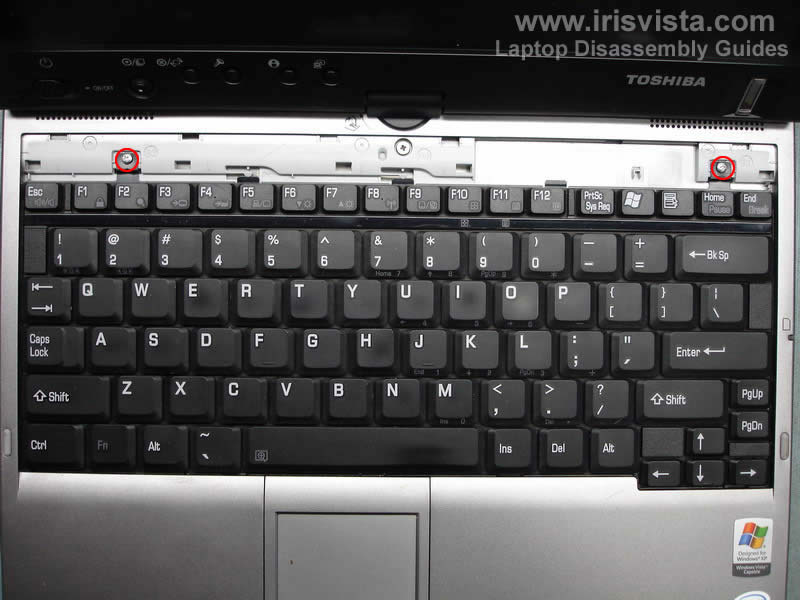
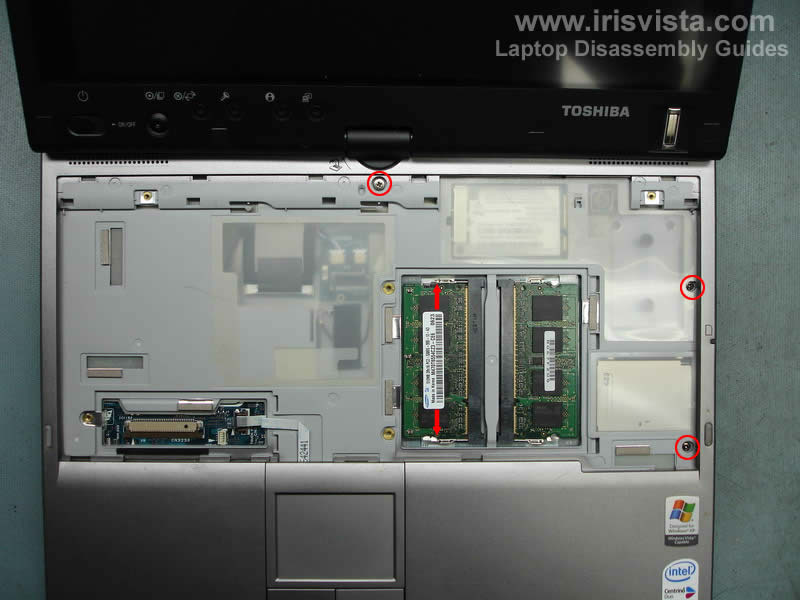
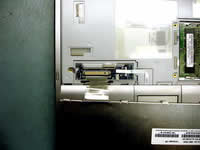
STEP 7
Remove two screws marked with red circles.
Carefully lift up the keyboard and flip it over on the palm rest (the keyboard is still attached to the motherboard). |
| |
|
 |
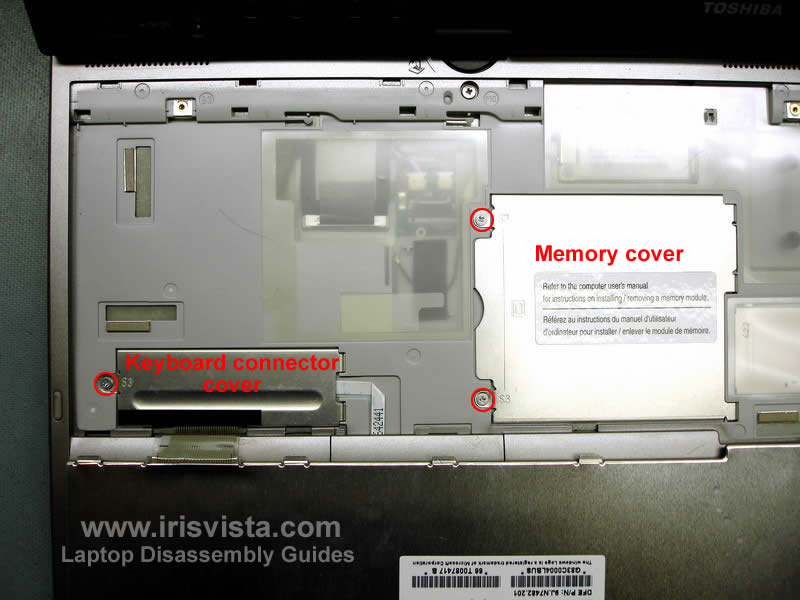
STEP 8
Remove the keyboard connector cover and memory cover. |
| |
|
 |
STEP 9
Unlock both keyboard and touchpad cable connectors and pull the cables.
Remove the keyboard.
Be very careful with the connectors. If you break them, the keyboard or touchpad will not function after you assemble the laptop back. |
| |
|
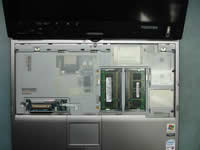 |
STEP 10
Spread the latches on both sides of the memory module socket to release the memory module.
Remove both memory modules. |
| |
|
 |
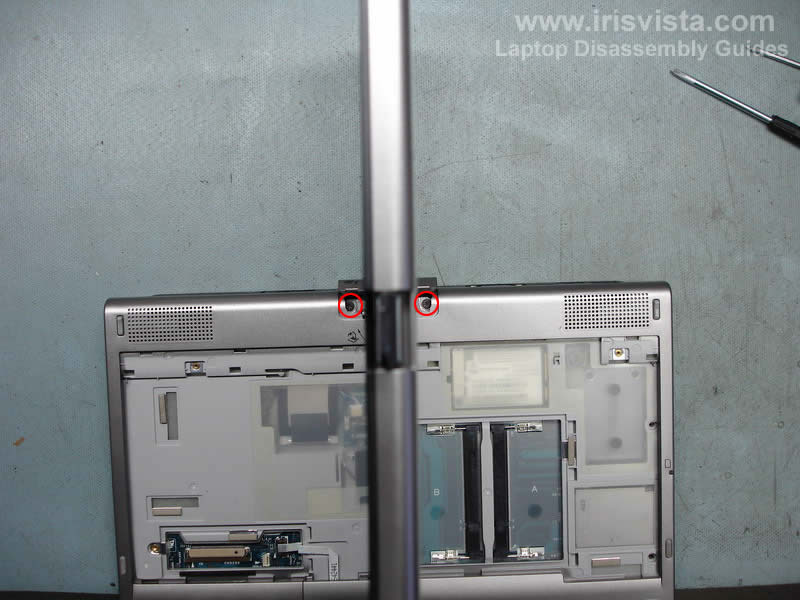
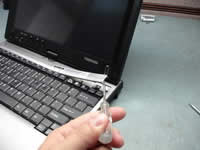
STEP 11
Here's a tricky part.
Turn the display as it shown on the picture and remove the cover from the swivel.
Remove two screws. |
| |
|
 |
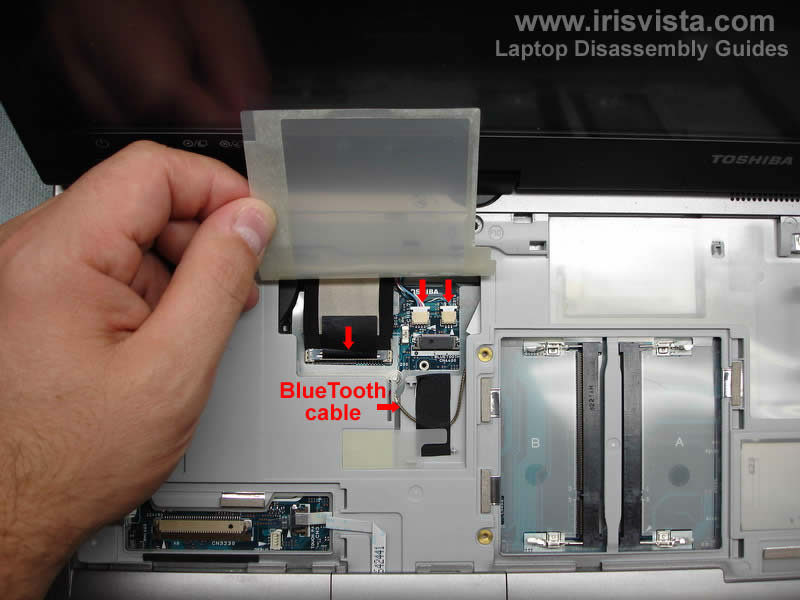
STEP 12
Disconnect three cables pointed with red arrows.
This laptop doesn't have a BlueTooth card installed so the antenna cable is just taped to the cover. |
| |
|
 |
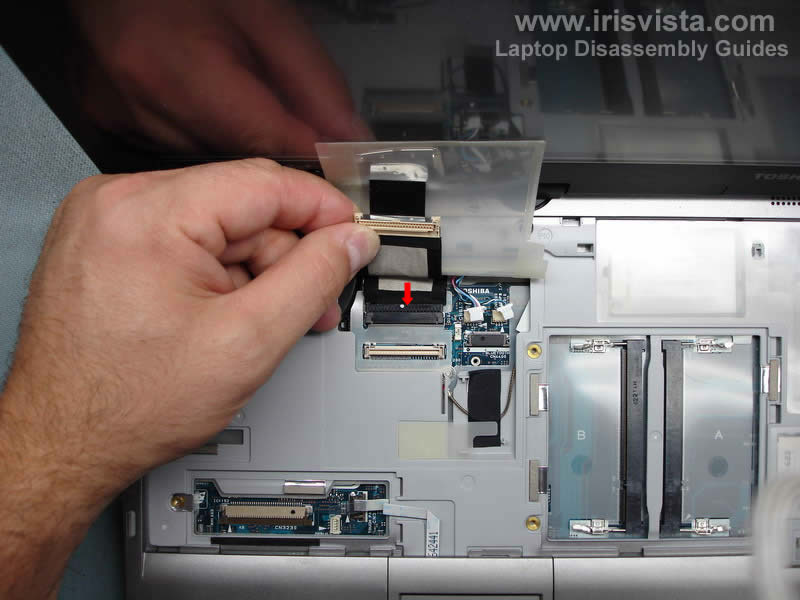
STEP 13
Here's one more cable to unplug. |
| |
|
 |
STEP 14
Removing the wireless card.
Remove one screw and remove the metal bracket covering the Wi-Fi card connectors. |
| |
|
 |
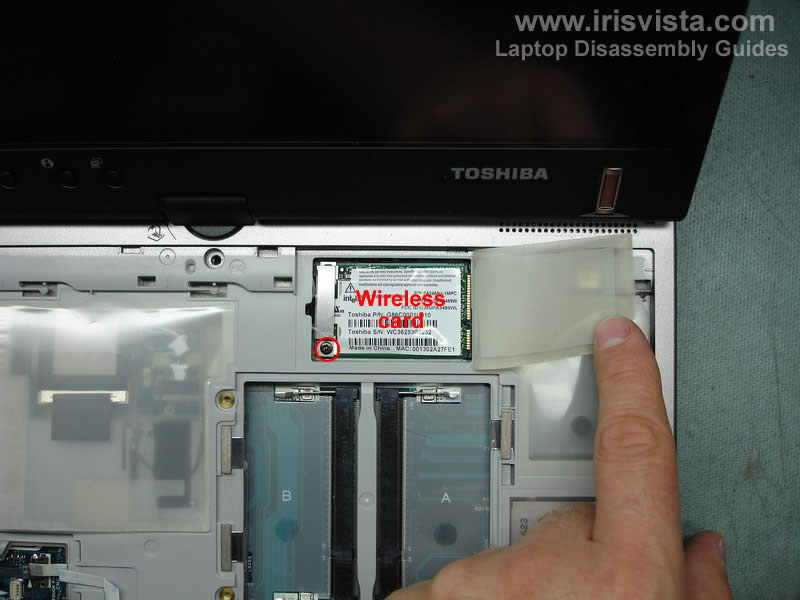
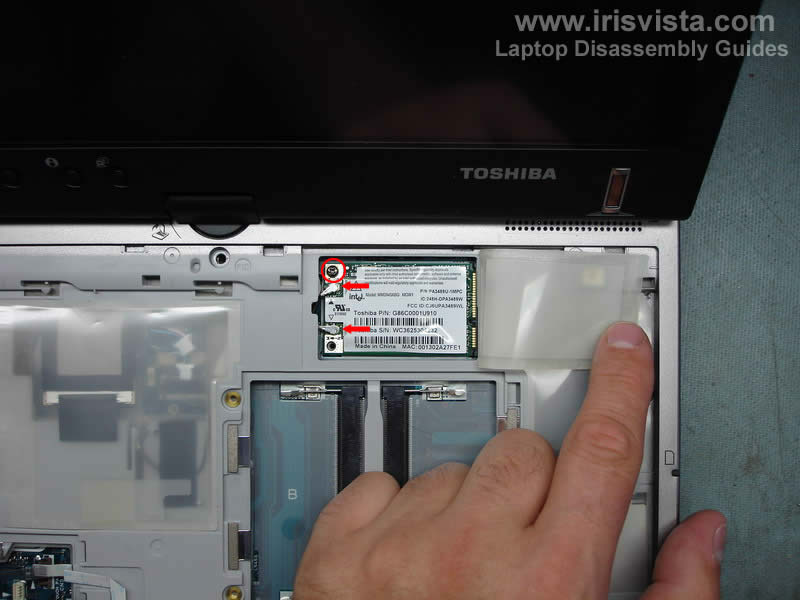
STEP 15
Remove one screw securing the wireless card.
Lift up and pull the card from the slot on the motherboard.
Disconnect both antenna cables. White - main. Black - auxiliary. |
| |
|
 |
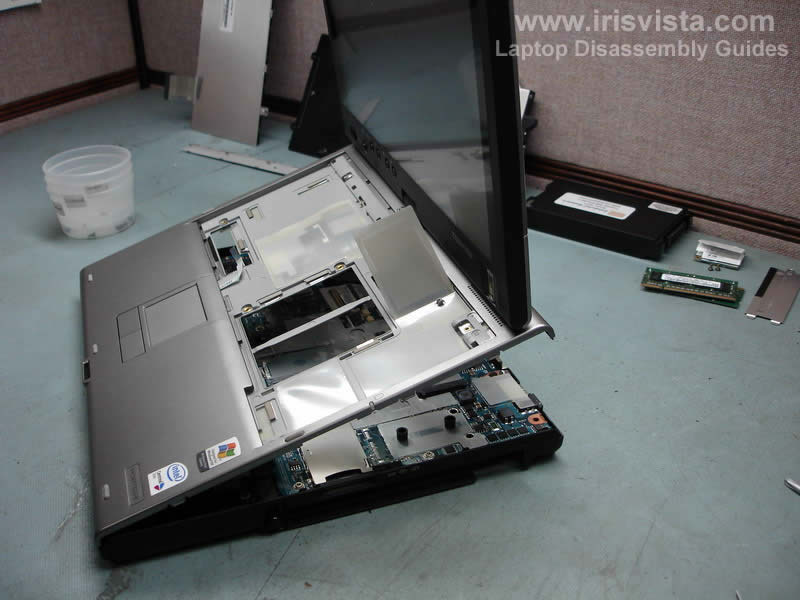
STEP 16
Now you can split the laptop case and remove the top cover with the display assembly. |
| |
|
 |
STEP 17
In this part we are going to remove the motherboard, power jack, heat sink, CPU and fan. |
| |
|
 |
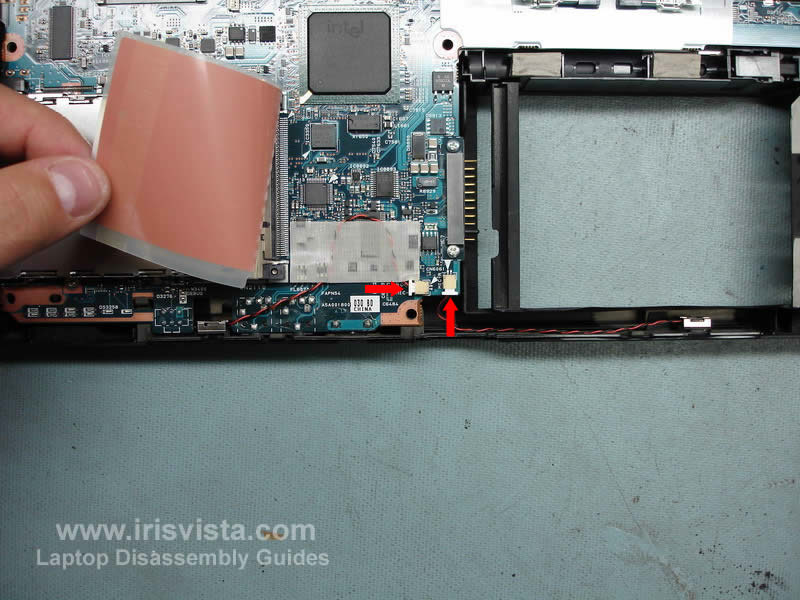
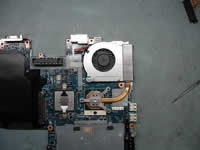
STEP 18
Remove the sticky tape securing one cable and unplug both cables pointed with red arrows. |
| |
|
 |
STEP 19
These three screws secure the motherboard to the bottom case. Remove them. |
| |
|
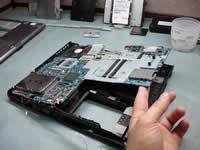 |
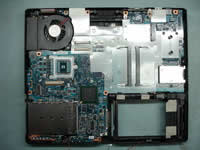
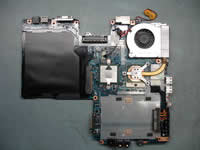
STEP 20
Start removing the motherboard from the left side and carefully lift it up from the case. |
| |
|
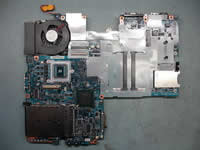 |
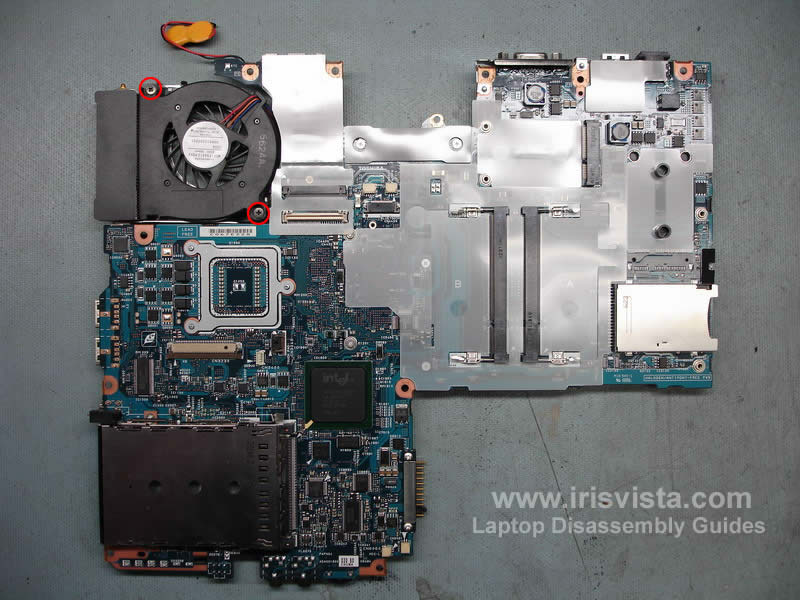
STEP 21
These two screws securing the cooling fan. Remove both screws and turn the motherboard over. |
| |
|
 |
STEP 22
Unplug the RTC battery.
Unplug the modem cable and remove the cable. |
| |
|
 |
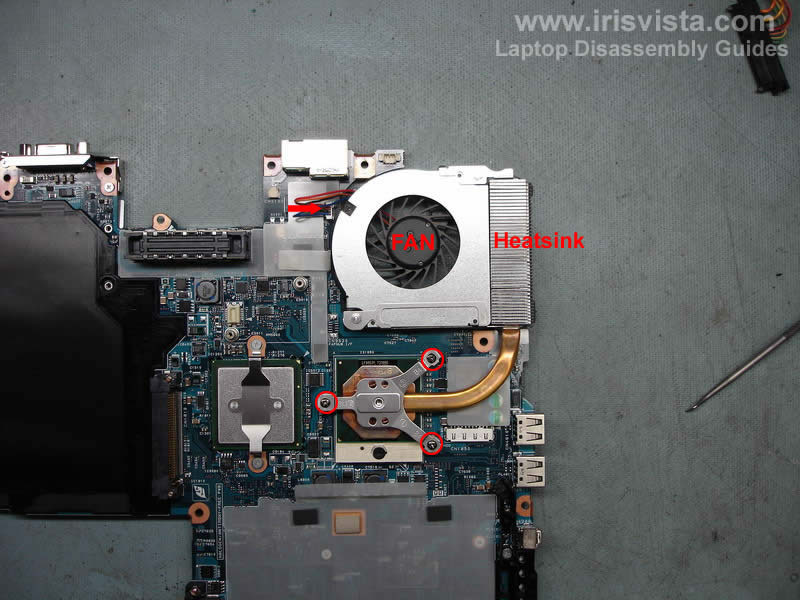
STEP 23
Remove three screws from the heatsink and remove it.
Unplug the fan cable from the motherboard and remove the fan. |
| |
|
 |
STEP 24
The final step would be removing the CPU.
Unlock the CPU socket by turning the screw on the socket into "Open" position and lift up the CPU.
Do not forget to apply new thermal grease on the CPU when you assemble the laptop. |
| |
|
|
|