 |
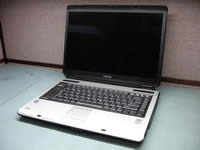
Toshiba Satellite A105, A100, Tecra A7 screen replacement.
|
|
|
 |
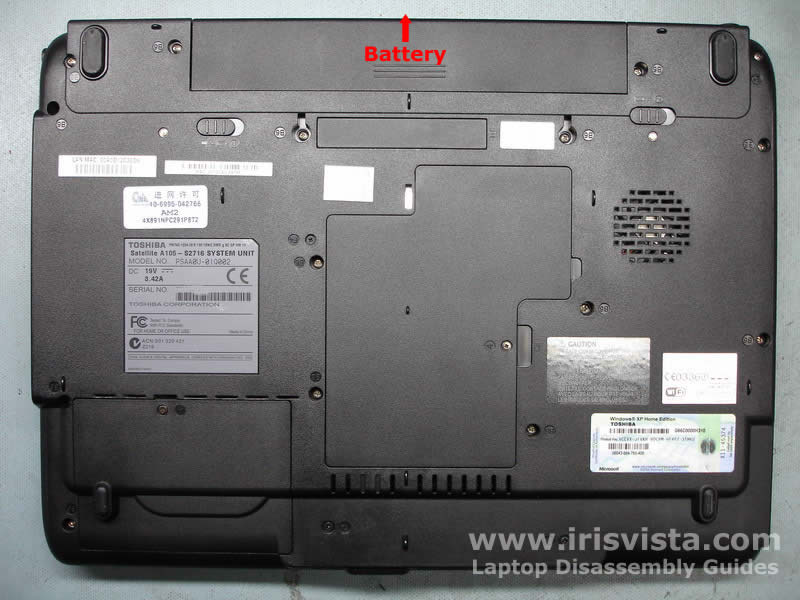
STEP 1
Start laptop disassembly with removing the battery.
Unlock the battery and slide it away from the laptop.
|
| |
|
 |
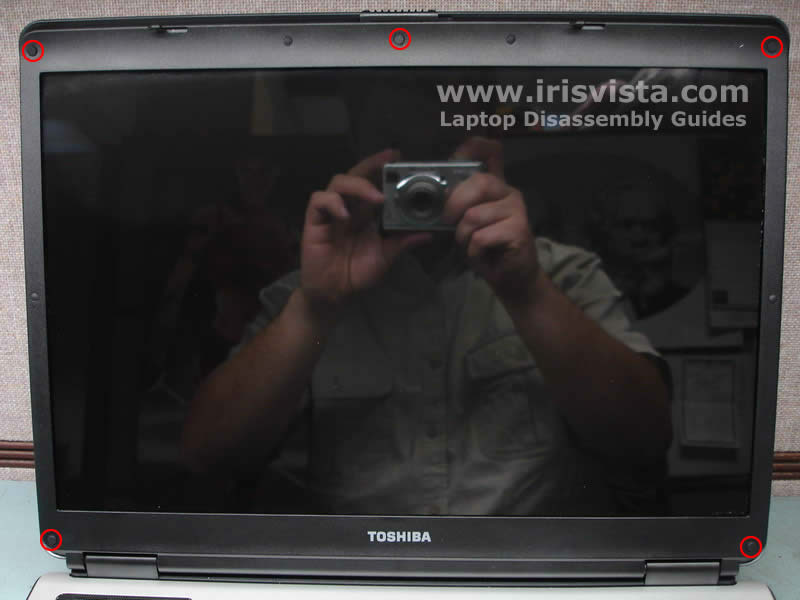
STEP 2
The LCD screen mask is secured by five screws. These screws are hidden under the screw seals.
Remove three screw seals from the top and two seals from the bottom of the LCD mask.
Remove LCD mask securing screws.
|
| |
|
 |
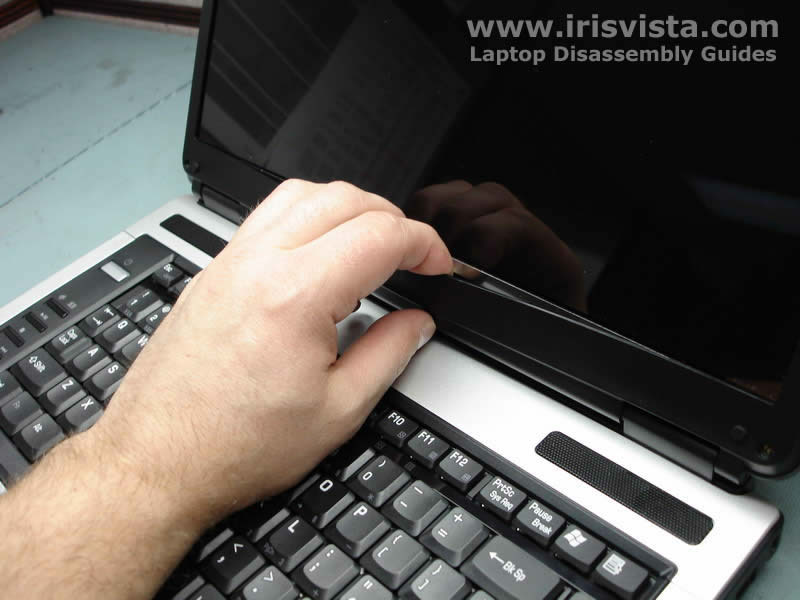
STEP 3
Start removing the LCD screen mask with your fingers. Place your fingers between the mask and the screen and release plastic latches.
|
| |
|
 |
STEP 4
To release plastic latches on the side you can use a guitar pick. Do not use a screwdriver or you can damage the screen. |
| |
|
 |
STEP 5
After all latches are released, you can remove the LCD screen mask.
|
| |
|
 |
STEP 6
Remove one screw securing the FL inverter board.
Disconnect the FL inverter cables on both sides of the board.
Remove the FL inverter board. |
| |
|
 |
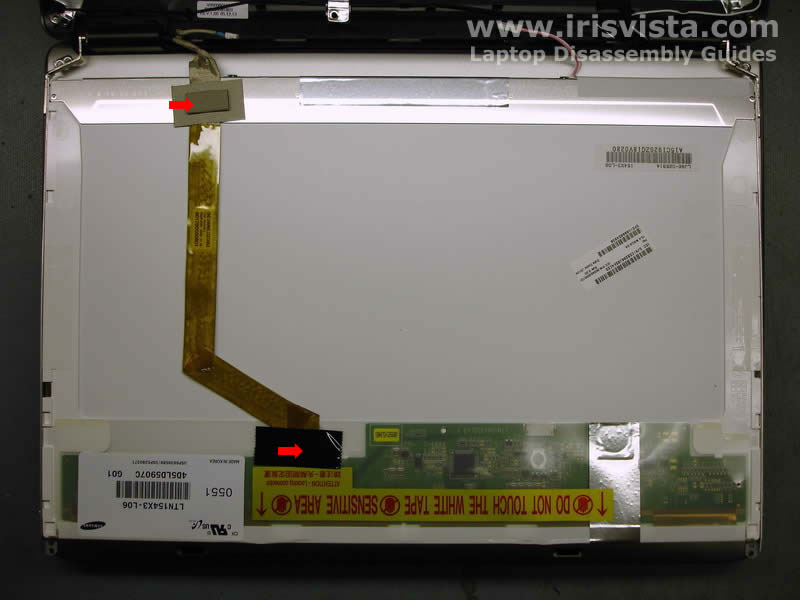
STEP 7
Remove the video cable securing tape and disconnect the video cable from the LCD screen.
The video cable connector is hidden under the black tape. |
| |
|
 |
STEP 8
Remove two screws on each side of the screen.
|
| |
|
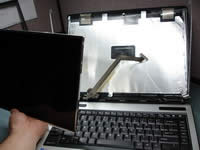 |
STEP 9
Carefully remove the LCD screen from the laptop. |
| |
|
 |
STEP 10
Toshiba Satellite A105 display disassembled. |
| |
|
|
|