 |
Toshiba Satellite L505, L505D, L500, L500D disassembly. |
|
|
 |
STEP 1
First of all, turn off the laptop and remove the battery.
I'll start disassembly with removing the keyboard (Steps 1-6).
Using a sharp object carefully lift up the plastic bezel above the keyboard.
|
| |
|
 |
STEP 2
Remove the keyboard bezel.
|
| |
|
 |
STEP 3
Remove four screws securing the keyboard to the laptop. |
| |
|
 |
STEP 4
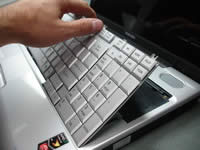
Carefully lift up the keyboard from the laptop. |
| |
|
 |
STEP 5
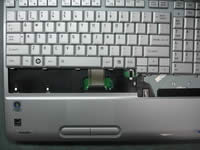
Access the keyboard cable connector located under the keyboard.
You have to unlock the connector and release the cable before removing the keyboard. |
| |
|
 |
STEP 6
In order to unlock the keyboard cable connector move the locking clip towards the LCD screen.
Move it only about 2 millimeters. The locking clip must stay attached to the connector base.
Warning! If you break the connector, you'll have to replace the motherboard. |
| |
|
 |
STEP 7
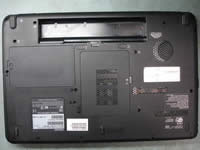
Remove the hard drive and memory covers. |
| |
|
 |
STEP 8
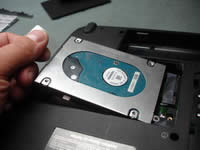
Remove one screw securing the hard drive. |
| |
|
 |
STEP 9
Slide the hard drive to the left to disconnect it from the motherboard.
Remove the hard drive. |
| |
|
 |
STEP 10
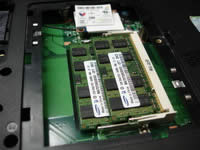
Remove both memory modules. |
| |
|
 |
STEP 11
Remove one screw securing the optical DVD drive.
Slide the optical drive to the left and remove it from the laptop.
|
| |
|
 |
STEP 12
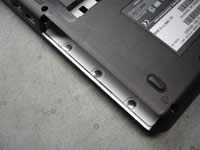
Remove all screws from the bottom of the laptop.
Also, remove one screw securing the modem and disconnect the modem card from the motherboard.
Without disconnecting the modem you will not be able to remove the motherboard. |
| |
|
 |
STEP 13
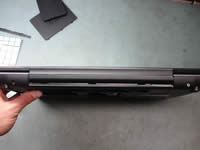
Don't forget to remove three screws from the optical drive compartment. |
| |
|
 |
STEP 14
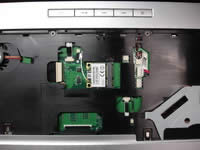
Remove two screws securing display hinges on the back of the laptop. |
| |
|
 |
STEP 15
Remove one screw securing the top cover assembly.
Disconnect three cables from the motherboard. |
| |
|
 |
STEP 16
Start separating the top cover assembly from the laptop base. |
| |
|
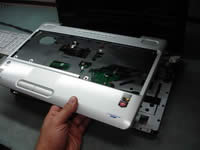 |
STEP 17
Remove the top cover assembly. |
| |
|
 |
STEP 18
The top cover assembly has been removed.
|
| |
|
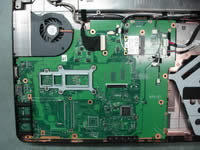 |
STEP 19
Disconnect five cables from the motherboard.
Disconnect two antenna cables from the wireless card.
You can leave the wireless card connected to the motherboard and remove it later. |
| |
|
 |
STEP 20
Remove the motherboard assembly from the laptop. |
| |
|
 |
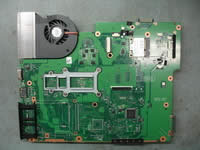
STEP 21
The motherboard has been removed.
|
| |
|
 |
STEP 22
Remove the wireless card.
|
| |
|
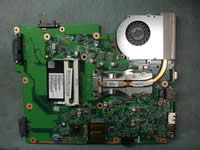 |
STEP 23
On this side of the motherboard you can access the CMOS battery (soldered to the motherboard).
Remove two screws securing the cooling fan.
Disconnect fan cable from the motherboard. |
| |
|
 |
STEP 24
Remove the cooling fan. |
| |
|
 |
STEP 25
Remove four screws securing the heat sink. |
| |
|
|
|