 |
Toshiba Satellite U205, U200, Tecra M6 disassembly. |
|
|
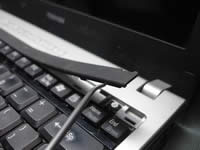 |
STEP 1
Start laptop disassembly with removing the battery.
In the following 7 steps I explain how to remove the keyboard.
Using a sharp object lift up the keyboard bezel.
|
| |
|
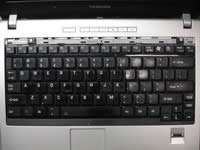 |
STEP 2
Remove two screws securing the keyboard.
|
| |
|
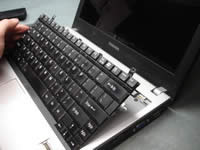 |
STEP 3
Carefully lift up the keyboard and place it upside down on the palm rest. |
| |
|
 |
STEP 4
Remove one screws from the metal cover.
Remove the cover. |
| |
|
 |
STEP 5
Now you can access the keyboard cable connector.
You have to unlock the connector and release the keyboard cable before removing the keyboard. |
| |
|
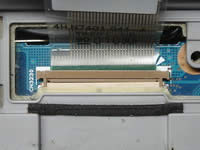 |
STEP 6
In order to unlock the connector, move the brown clip about 1-2 millimeters towards the LCD screen.
The clip must stay attached to the connector base. Do not separate this clip from the base.
WARNING! If you break the connector, you'll have to replace the motherboard.
|
| |
|
 |
STEP 7
After the connector is unlocked you can release the cable and remove the keyboard.
Replace the keyboard with a new one if needed. |
| |
|
 |
STEP 8
Remove both memory modules found under the metal cover. |
| |
|
 |
STEP 9
Remove one screw securing the hard drive cover.
Remove the hard drive cover. |
| |
|
 |
STEP 10
Carefully disconnect the hard drive from the cable and remove it from the laptop.
|
| |
|
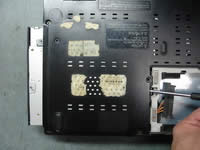 |
STEP 11
Remove two screws securing the DVD drive.
Push the DVD drive from the laptop with a screwdriver.
Remove DVD drive. |
| |
|
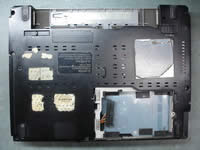 |
STEP 12
Remove all screws from the bottom of the laptop. |
| |
|
 |
STEP 13
Remove two protective films from the top cover. |
| |
|
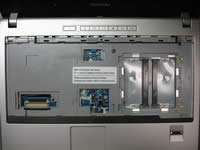 |
STEP 14
Remove two screws securing the top cover.
Disconnect three cables from the motherboard. |
| |
|
 |
STEP 15
Remove the top cover assembly. |
| |
|
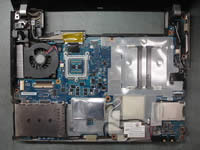 |
STEP 16
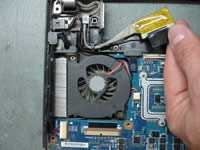
The top cover assembly has been removed.
Now it's a good chance remove dust from the cooling module.
Also, you can replace the cooling fan if needed.
|
| |
|
 |
STEP 17
Disconnect two cables from the motherboard.
Remove one screw securing the plastic holder.
When you remove the cable holder you'll have to remove the power jack and network jack. |
| |
|
 |
STEP 18
The cable holder and cables have been removed. |
| |
|
 |
STEP 19
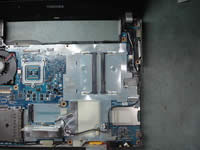
Disconnect the CMOS battery cable and microphone cable from the motherboard.
Remove the modem card.
Remove the wireless card and disconnect wireless antenna cables (white and black) from the card.
|
| |
|
 |
STEP 20
Disconnect one cable from the motherboard.
|
| |
|
 |
STEP 21
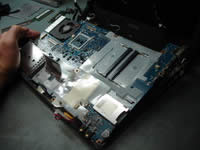
Lift up the second cable holder and place the holder as it shown on the picture. |
| |
|
 |
STEP 22
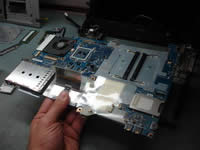
Start removing the motherboard from the back side. |
| |
|
 |
STEP 23
Remove the motherboard from the laptop case. |
| |
|
 |
STEP 24
Disconnect the cooling fan cable from the motherboard. |
| |
|
 |
STEP 25
Remove three screws securing the heat sink bracket. |
| |
|
 |
STEP 26
Carefully lift up and remove the heat sink from the motherboard. |
| |
|
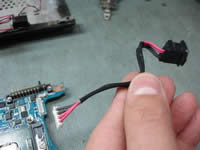 |
STEP 27
Unplug the DC jack harness from the motherboard.
|
| |
|
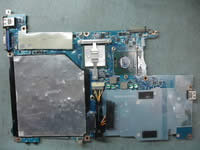 |
STEP 28
Finally, remove the CPU and the hard drive cable.
|
| |
|
|
|