|
Toshiba Satellite M115 M110 screen removal.
|
|
|
 |
STEP 1
First of all, unplug power adapter and remove notebook battery.
There are four screw seals on the LCD bezel. Remove all four seals.
|
| |
|
 |
STEP 2
Remove four screws securing the LCD bezel.
|
| |
|
 |
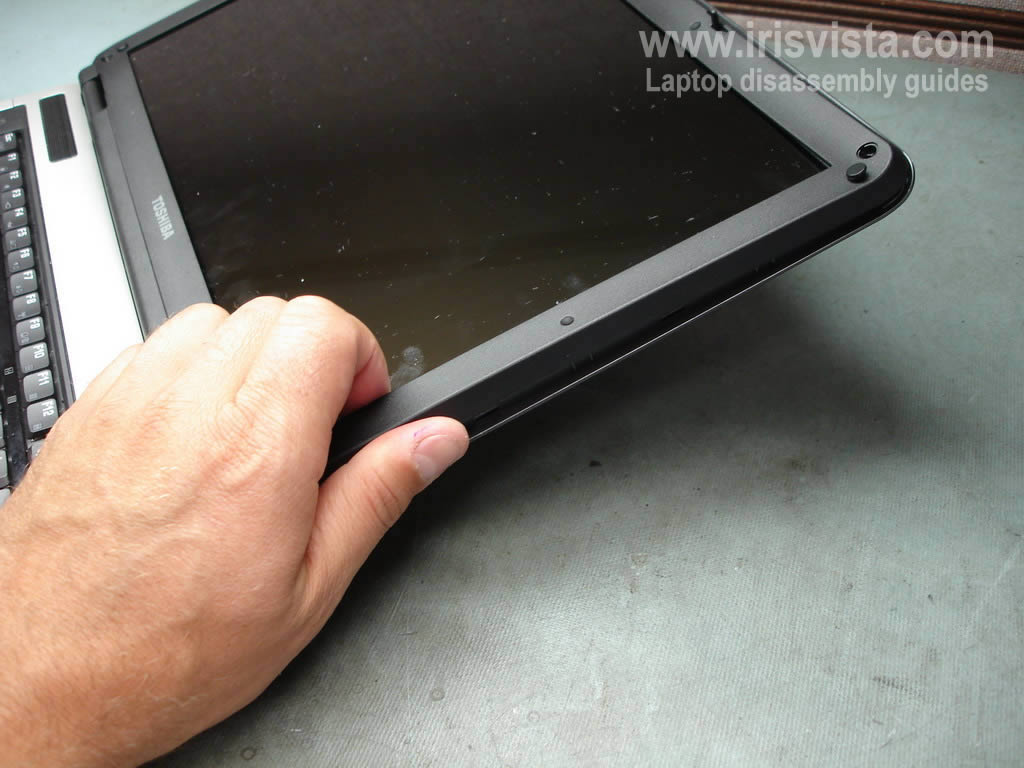
STEP 3
Insert fingers between the bezel and LCD screen.
Start separating bezel from the LCD cover. |
| |
|
 |
STEP 4
Continue separating the bezel from the LCD cover. |
| |
|
 |
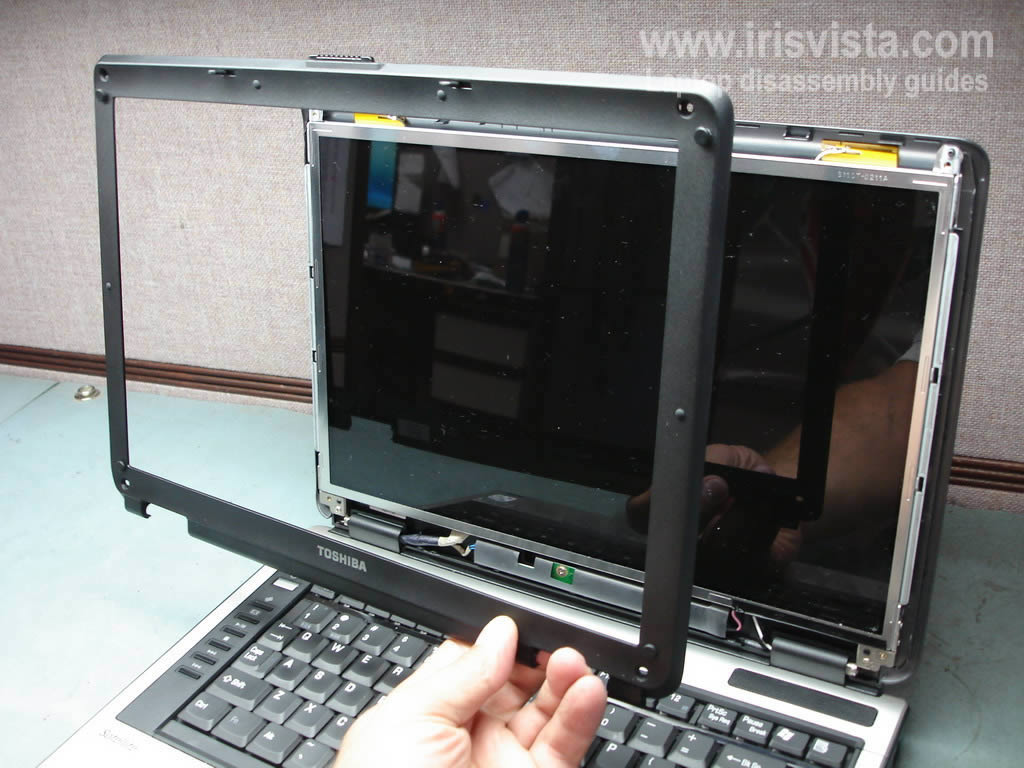
STEP 5
The screen bezel has been removed. |
| |
|
 |
STEP 6
Now you can access the screen inveter.
Remove one screw and unplug cables from both side of the inveter. |
| |
|
 |
STEP 7
The screen inverter has been removed. Replace it with a new one if needed. |
| |
|
 |
STEP 8
Remove two screws securing laptop hinges to the LCD cover. |
| |
|
 |
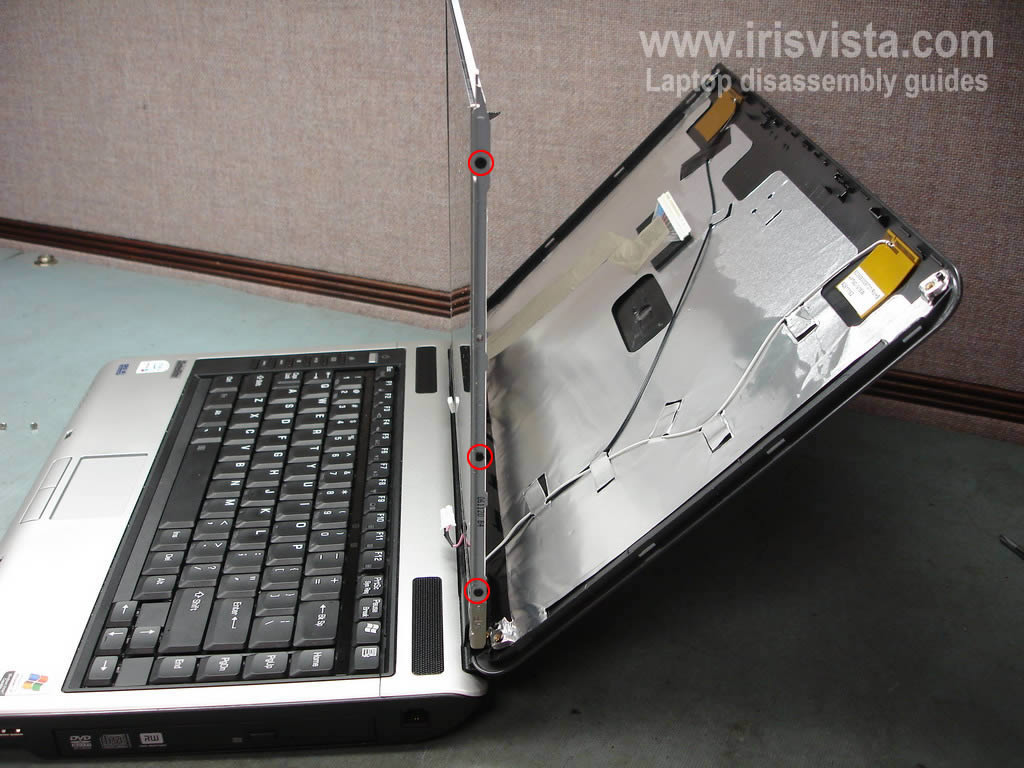
STEP 9
Access the back side of the LCD screen.
Remove black tape covering the video cable connector.
Unplug video cable from the LCD screen. |
| |
|
 |
STEP 10
Remove three screws from each side of the screen. |
| |
|
 |
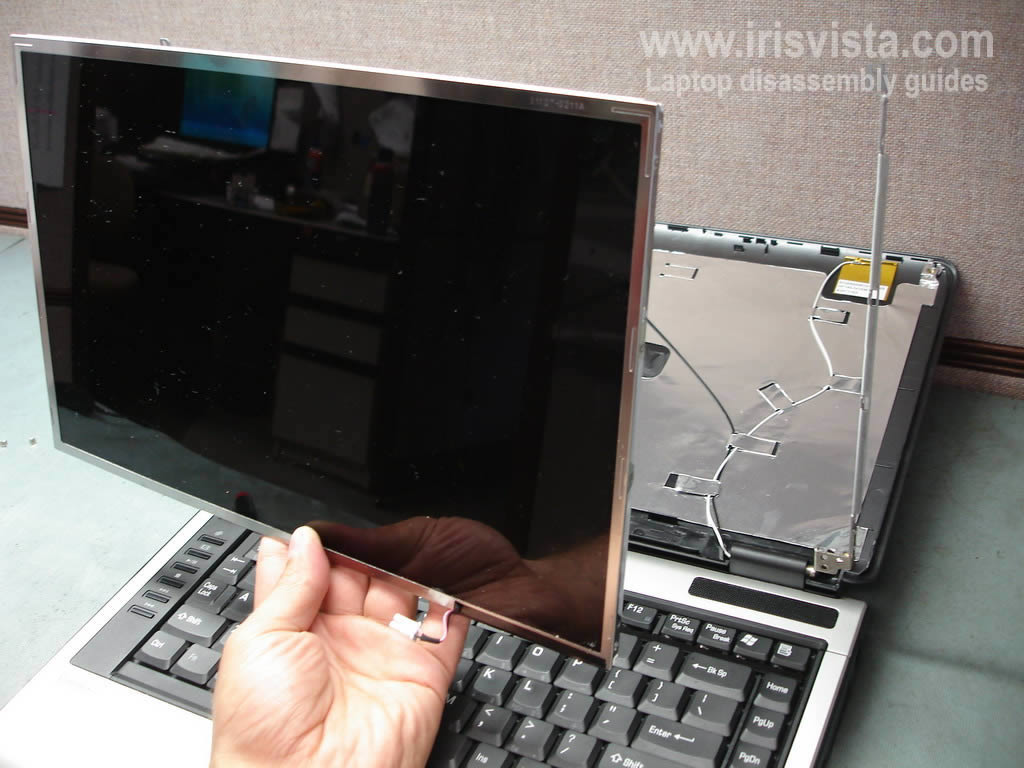
STEP 11
The notebook LCD screen has been removed.
Replace it with a new screen if needed.
For laptop body disassembly visit this guide.
|
| |
|
|
|