|
Toshiba Satellite M305, M305D, M300, M300D screen replacement.
If you want to remove the video cable, you'll have to remove the top cover first.
I'm replacing the cable, that's why my guide the top cover has been removed.
But if you just replacing the LCD screen or inverter board, removing the top cover is not necessary.
 Click on any picture to enlarge. Click on any picture to enlarge.
|
|
|
 |
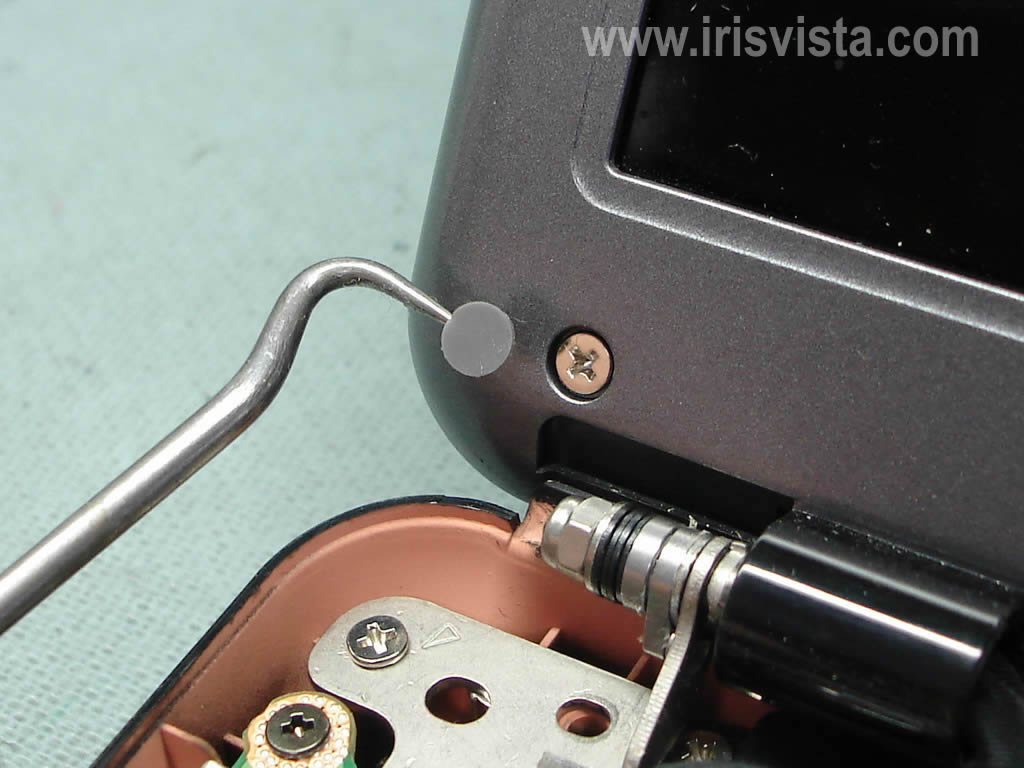
STEP 1
Turn off the laptop, remove the battery and unplug the power adapter.
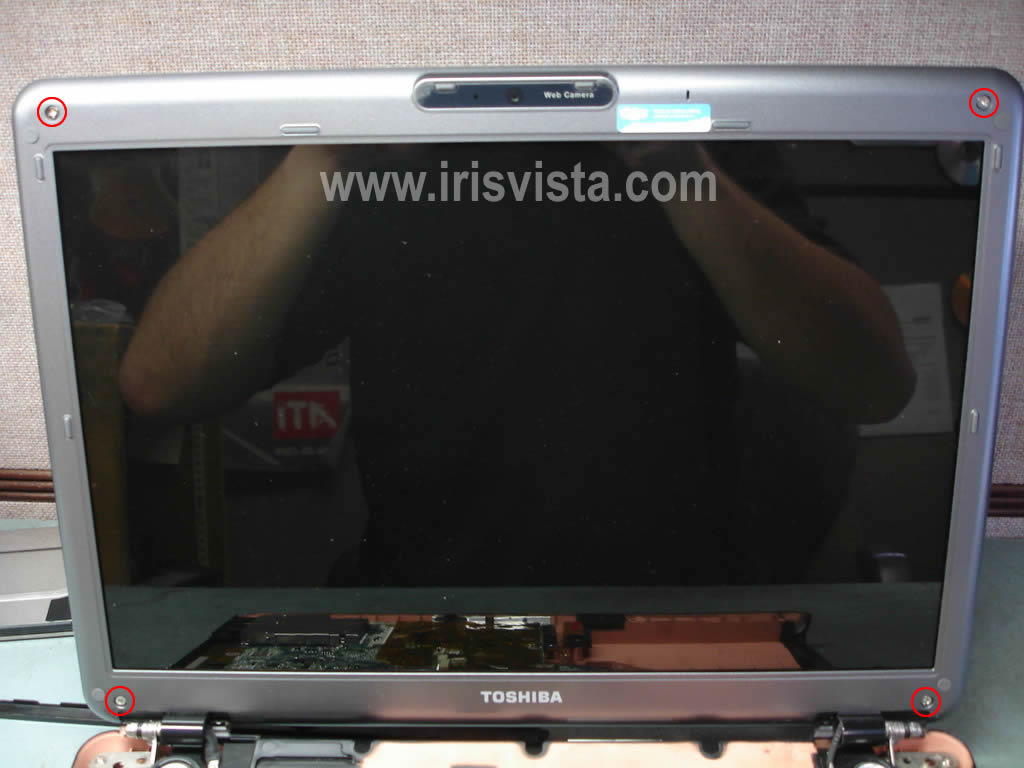
Remove four screw seals with a sharp object as it shown on the very first image.
After that remove all four screws found under these seals.
Glue all four screw seals somewhere on the bezel, so they don't get lost. |
| |
|
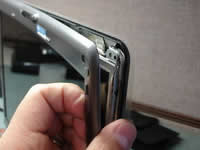 |
STEP 2
Start separating the display bezel from the screen cover.
|
| |
|
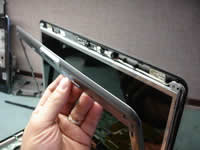 |
STEP 3
Continue removing bezel on the top of the display and after that proceed to the bottom part of the display. |
| |
|
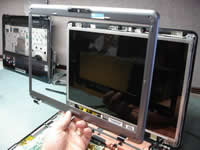 |
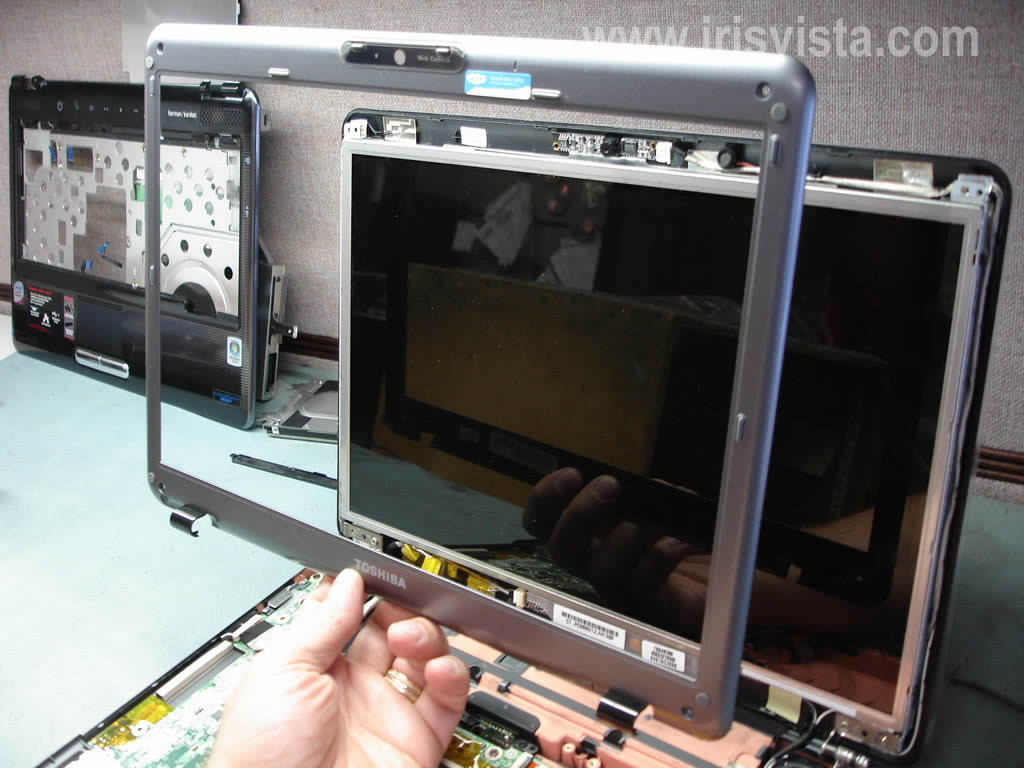
STEP 4
The display bezel has been removed. |
| |
|
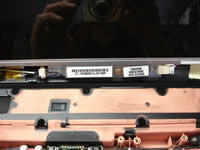 |
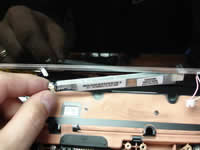
STEP 5
The screen inverter board is located below the LCD screen.
Unplug cables from both sides of the inverter board.
|
| |
|
 |
STEP 6
The inverter board is glued to the screen cover.
Be very careful while separating the inverter from the cover.
|
| |
|
|
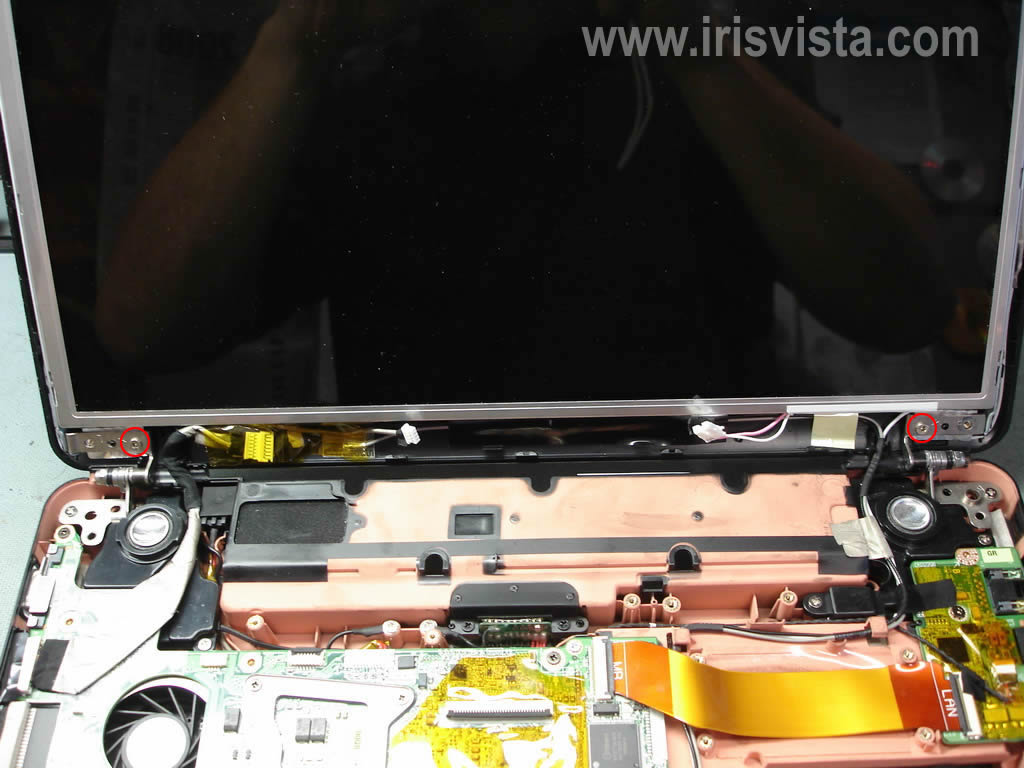
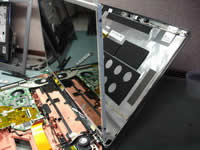
STEP 7
Remove two screws securing the display hinges to the screen cover. |
| |
|
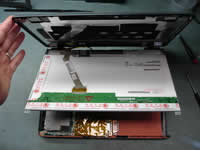 |
STEP 8
Carefully separate the cover from the screen.
Now you can access the video cable, as you see it's connected to the screen.
Unplug the video cable from the screen and remove tape securing the cable.
|
| |
|
 |
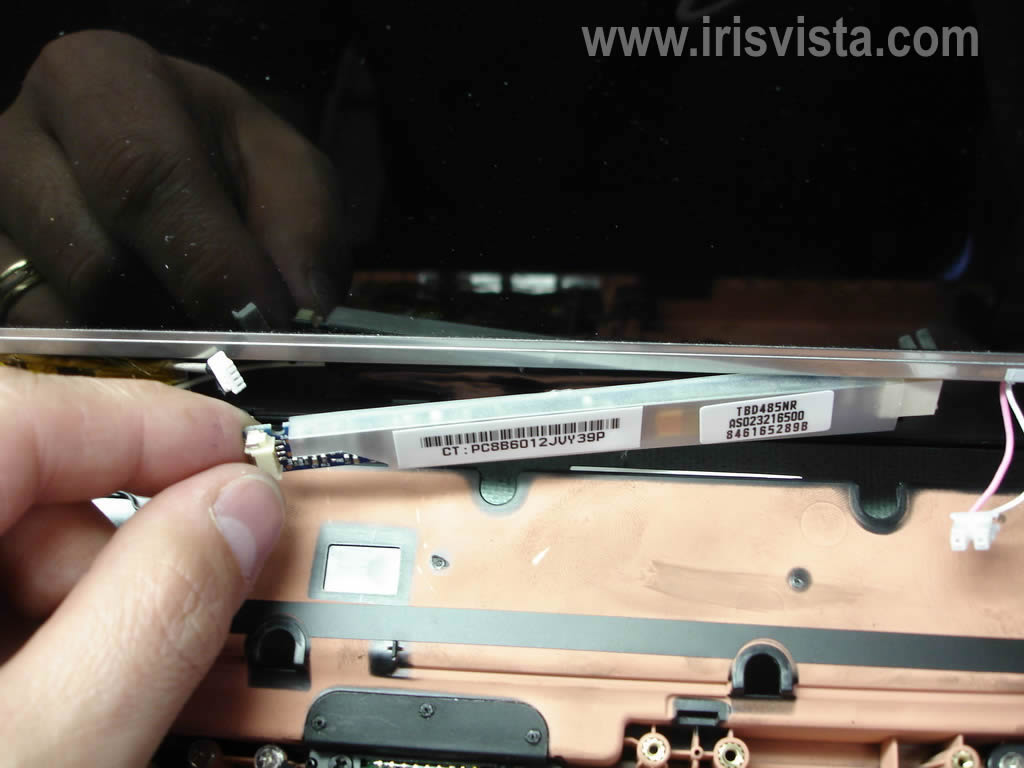
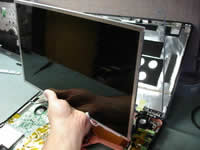
STEP 9
Remove two screws securing the LCD screen to the mounting bracket.
Do the same with the second side of the screen.
|
| |
|
 |
STEP 10
Remove the LCD screen and replace it with a new one if needed. |
| |
|
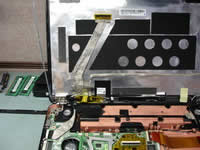 |
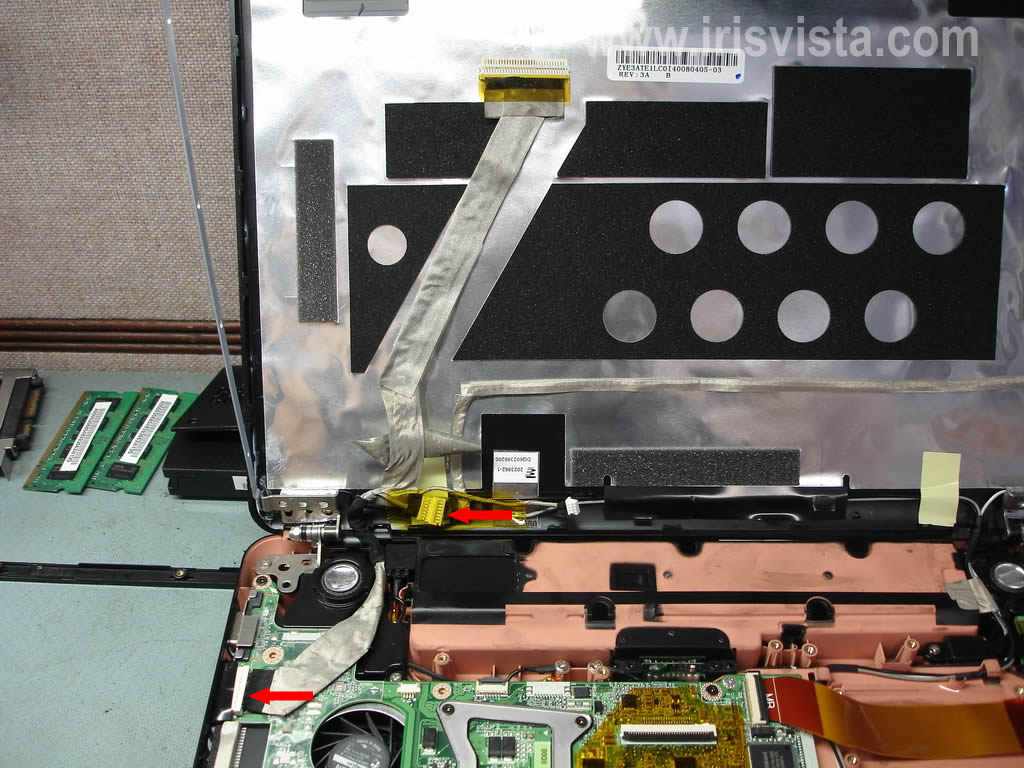
STEP 11
Unplug the video cable from the motherboard and the web cam cable. |
| |
|
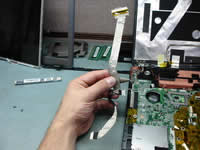 |
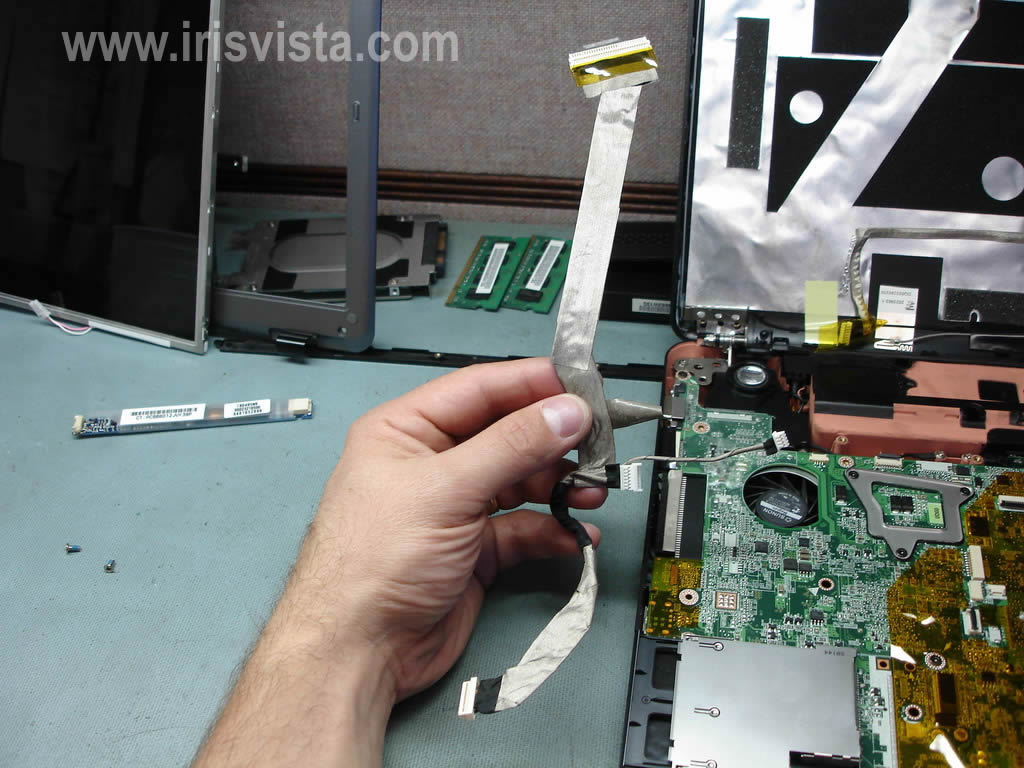
STEP 12
Remove the video cable and replace it with a new one if needed.
I was replacing the video cable because it was defective and the image on the screen was flickering when the screen was moved or touched. |
| |
|
|
|