|
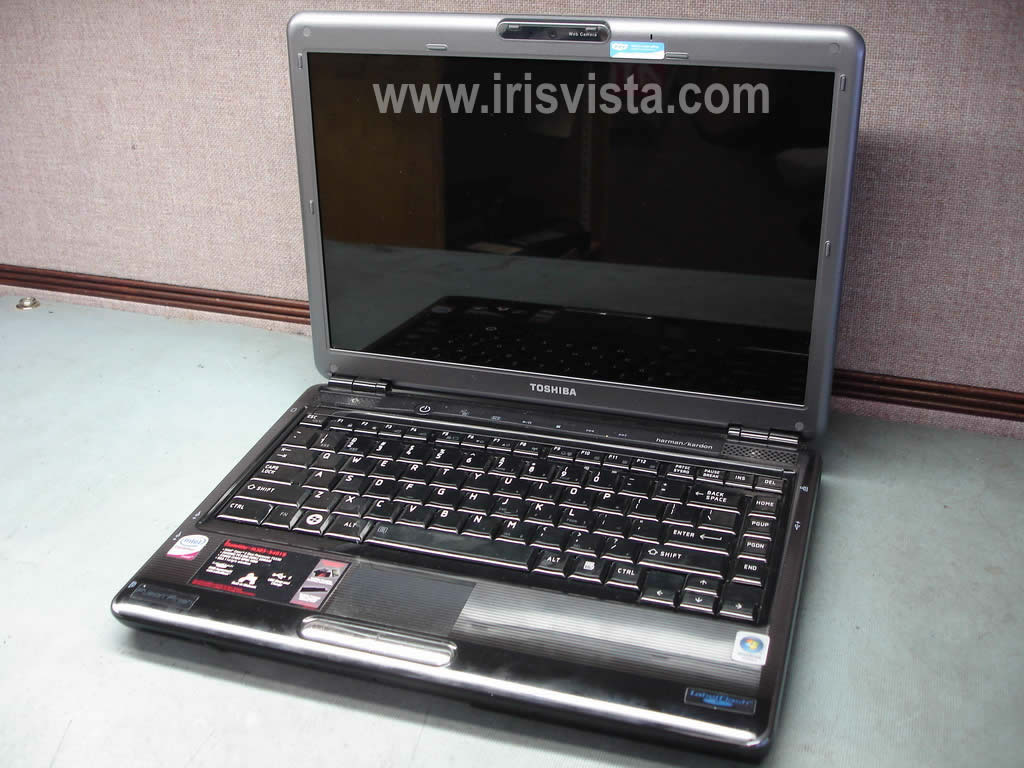
Toshiba Satellite M305, M305D, M300, M300D disassembly.
In the following guide I will be removing the top cover so I can replace the video cable.
|
|
|
 |
STEP 1
Turn off the laptop, unplug the AC adapter and remove the battery.
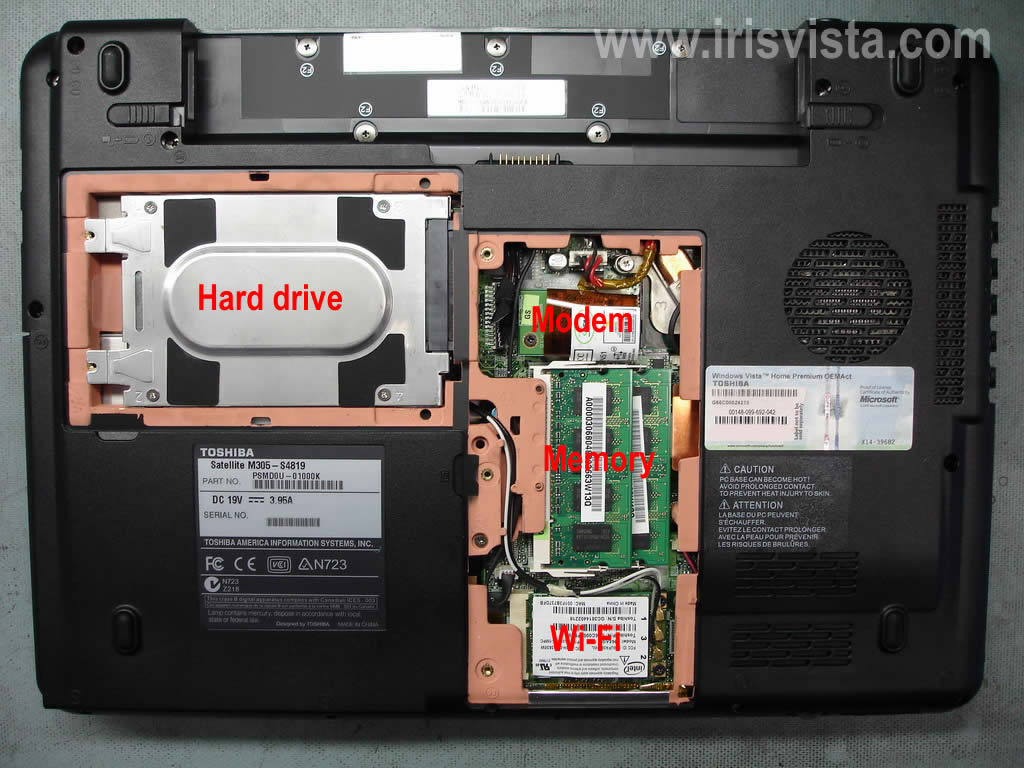
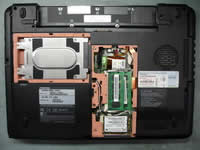
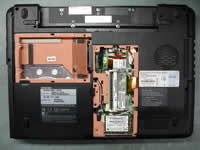
Remove five screws securing the hard drive and memory covers.
Remove both covers. |
| |
|
 |
STEP 2
Under these covers you'll find the hard drive, modem card, wireless card and two memory modules.
|
| |
|
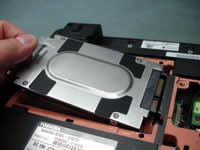 |
STEP 3
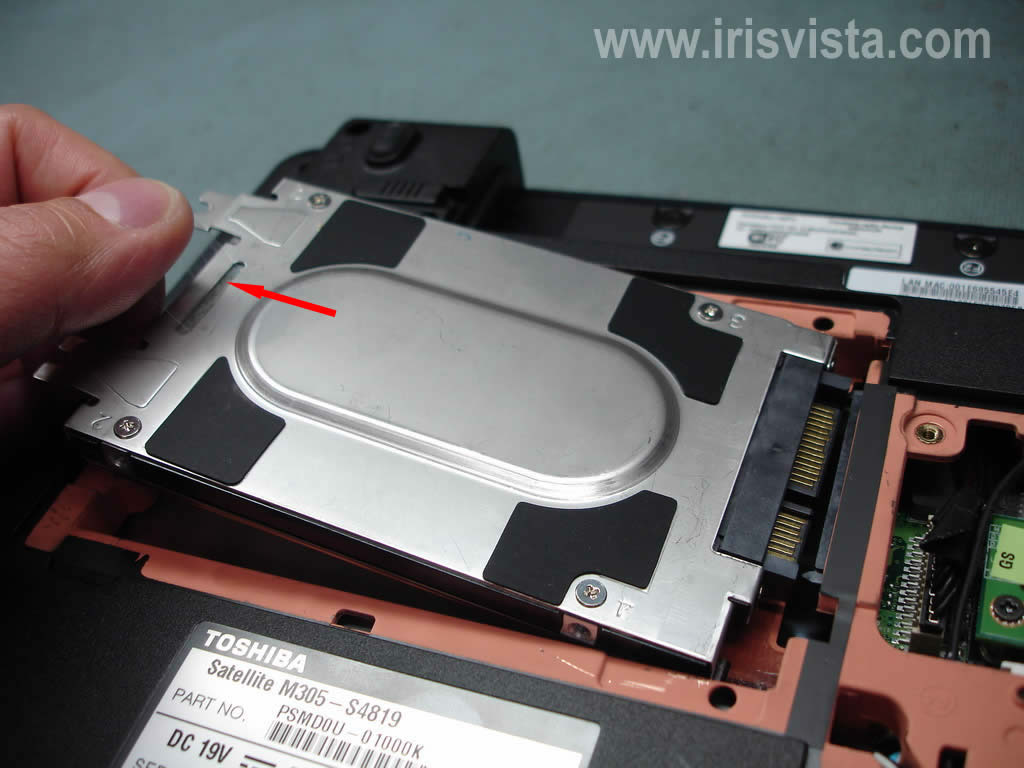
In order to remove the hard drive, simply slide it to the left side and lift up. |
| |
|
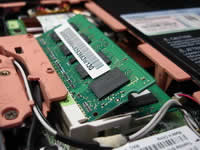 |
STEP 4
In order to remove the memory module, spread latches on both side of the module and when it pops up, carefully pull the module from the slot by the edges. |
| |
|
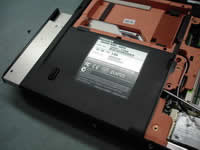 |
STEP 5
Remove one screw securing the DVD drive to the laptop base and push the drive with a screwdriver.
Pull the DVD drive from the laptop.
|
| |
|
 |
STEP 6
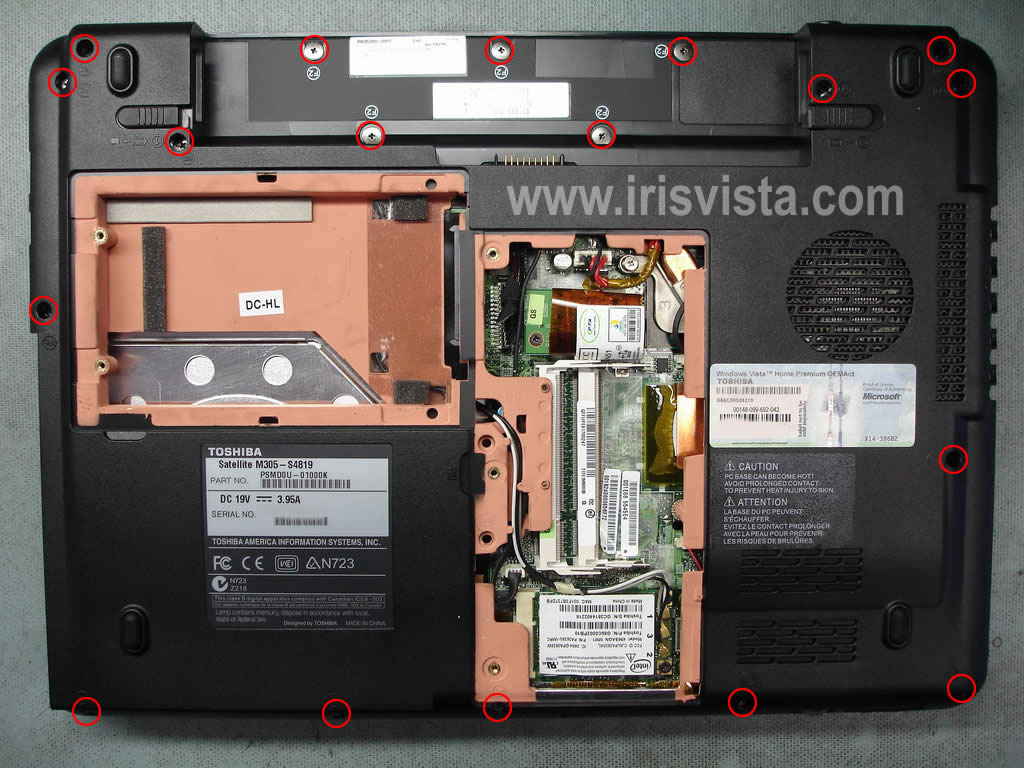
Now I'm going to remove the top cover. Again, it's not necessary to go through steps 1-5.
Remove all screws from the bottom of the laptop. |
| |
|
 |
STEP 7
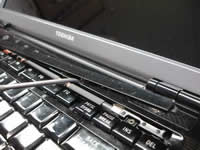
Insert a small flathead screwdriver under the keyboard bezel and lift it up.
Continue removing the keyboard bezel with your fingers. |
| |
|
|
STEP 8
Remove two screws securing the laptop keyboard to the base.
Lift up the keyboard and place it upside down on the palm rest. |
| |
|
 |
STEP 9
Unlock the connector and release the keyboard cable.
Remove the keyboard.
|
| |
|
 |
STEP 10
Here you can see the keyboard cable connector in the unlocked position.
|
| |
|
 |
STEP 11
Remove nine screws securing the top cover assembly.
Unlock two connectors (yellow arrows) and release cables.
Pull two other cables (green arrows) from the connectors. |
| |
|
 |
STEP 12
Start lifting up the top cover assembly on the right side of the laptop. |
| |
|
 |
STEP 13
The top cover has been removed. |
| |
|
 |
STEP 14
Now you can access one part of the video cable.
|
| |
|
|
|