 |
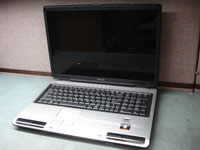
Toshiba Satellite P100, P105 screen removal. |
|
|
 |
STEP 1
Turn off the laptop and remove the battery.
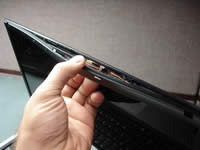
There are four rubber screw seals on the screen bezel.
Two square seals on the top and two round seals on the bottom.
|
| |
|
 |
STEP 2
Remove screws seals with a sharp object. You can use a small flat head screwdriver.
Remove all four screws found under those seals.
|
| |
|
 |
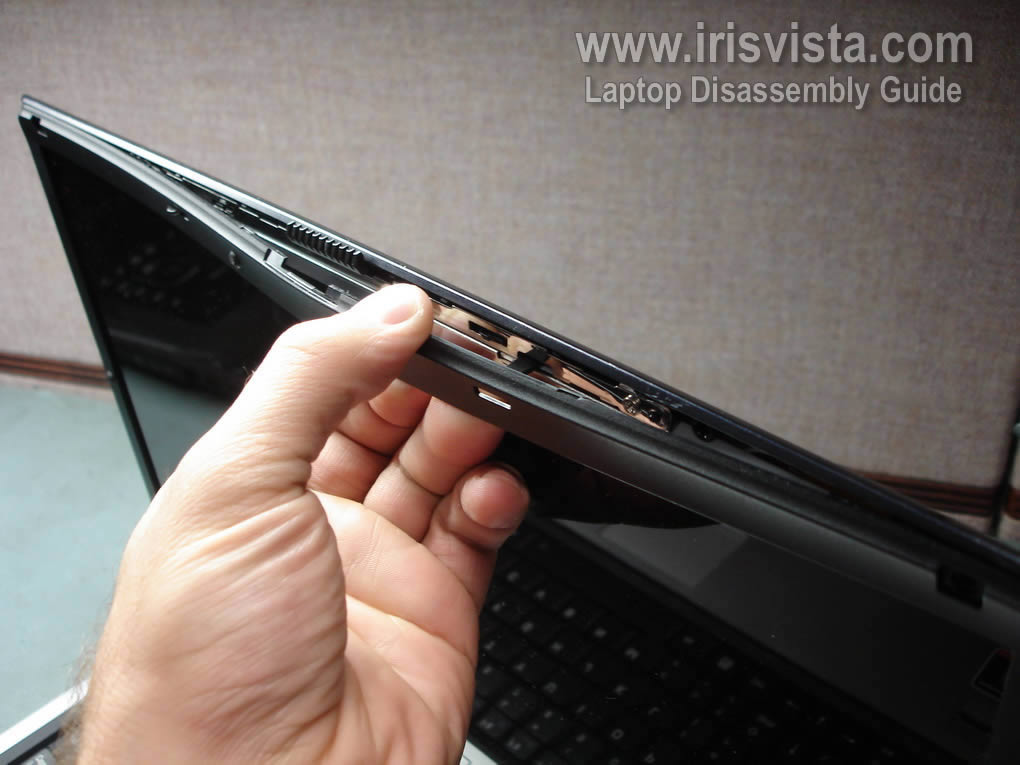
STEP 3
Start removing the screen bezel from the top.
Carefully separate the screen bezel from the display cover with your fingers. |
| |
|
 |
STEP 4
Continue separating the screen bezel from the display cover.
|
| |
|
 |
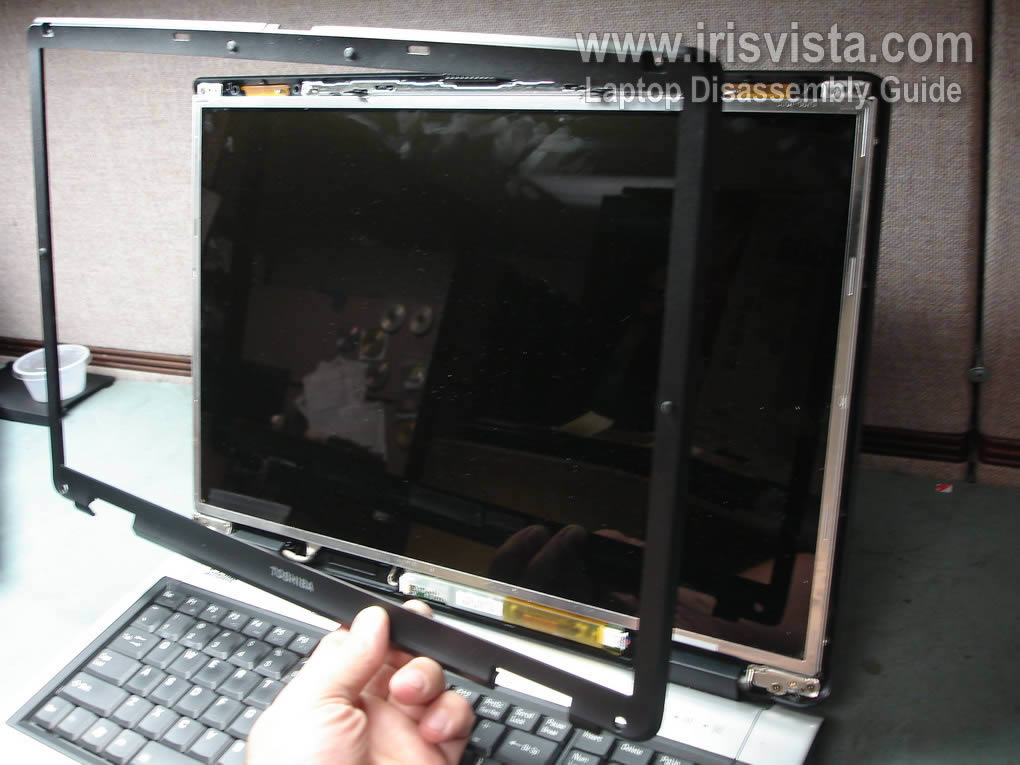
STEP 5
The screen bezel has been removed.
|
| |
|
 |
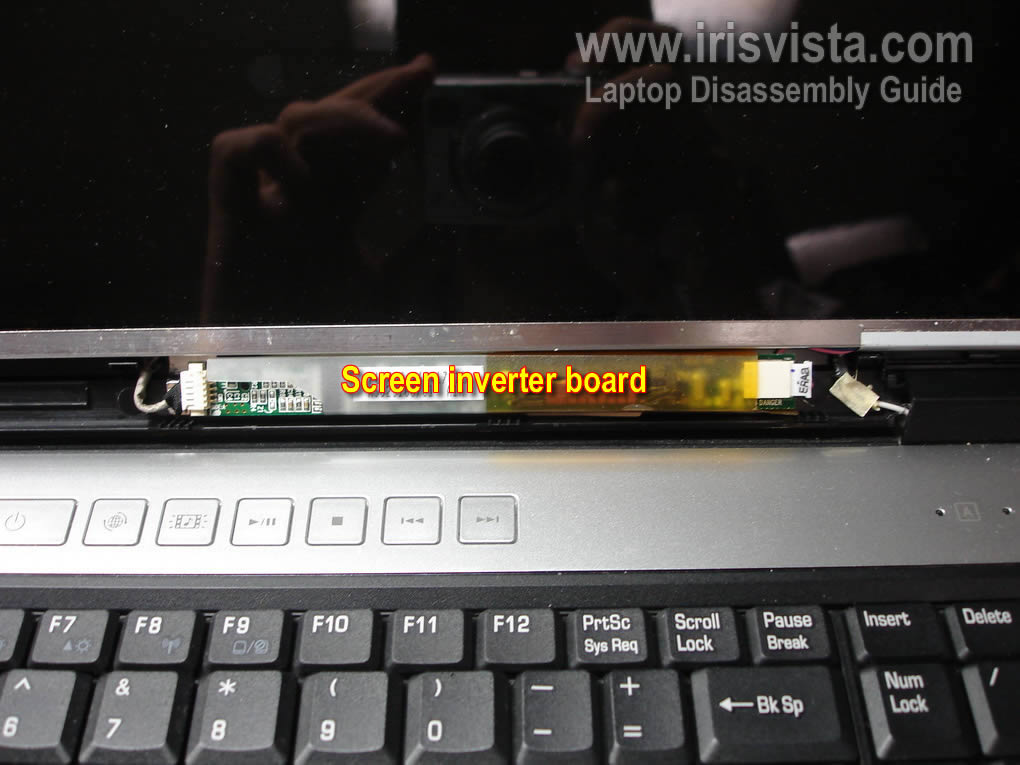
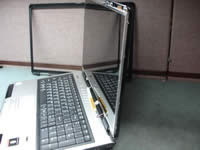
STEP 6
The inverter board located below the LCD screen.
There are no screws securing the inverter board.
|
| |
|
 |
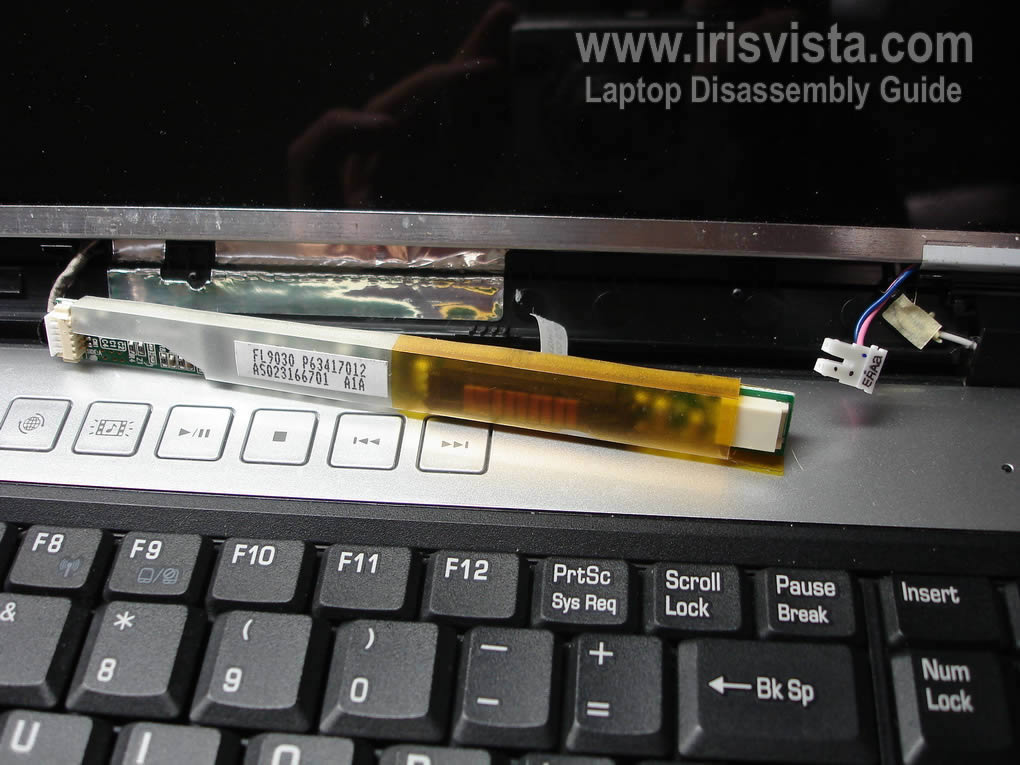
STEP 7
Carefully remove the inverter board from the display assembly.
Disconnect the LCD backlight cable from the right side of the inverter.
I'm not replacing the inverter board and leave the cable on the right side connected.
|
| |
|
 |
STEP 8
Remove two screws from left and right sides of the LCD screen.
These screws securing the LCD screen to the mounting brackets. |
| |
|
 |
STEP 9
Carefully separate the LCD screen from the cover and place it face down on the palm rest.
|
| |
|
 |
STEP 10
Now you can access the video cable connection on the back and disconnect the cable. |
| |
|
 |
STEP 11
Unplug the video cable connector from the LCD screen. |
| |
|
 |
STEP 12
Remove sticky tape securing the video cable to the LCD screen. |
| |
|
 |
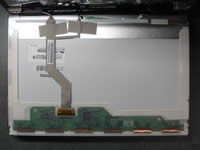
STEP 13
Carefully remove the LCD screen from the laptop and replace it with a new one if needed.
For comlete laptop disassembly visit this guide. |
| |
|
|
|