|
Toshiba Tecra A8, Satellite Pro A120 screen removal. |
|
|
 |
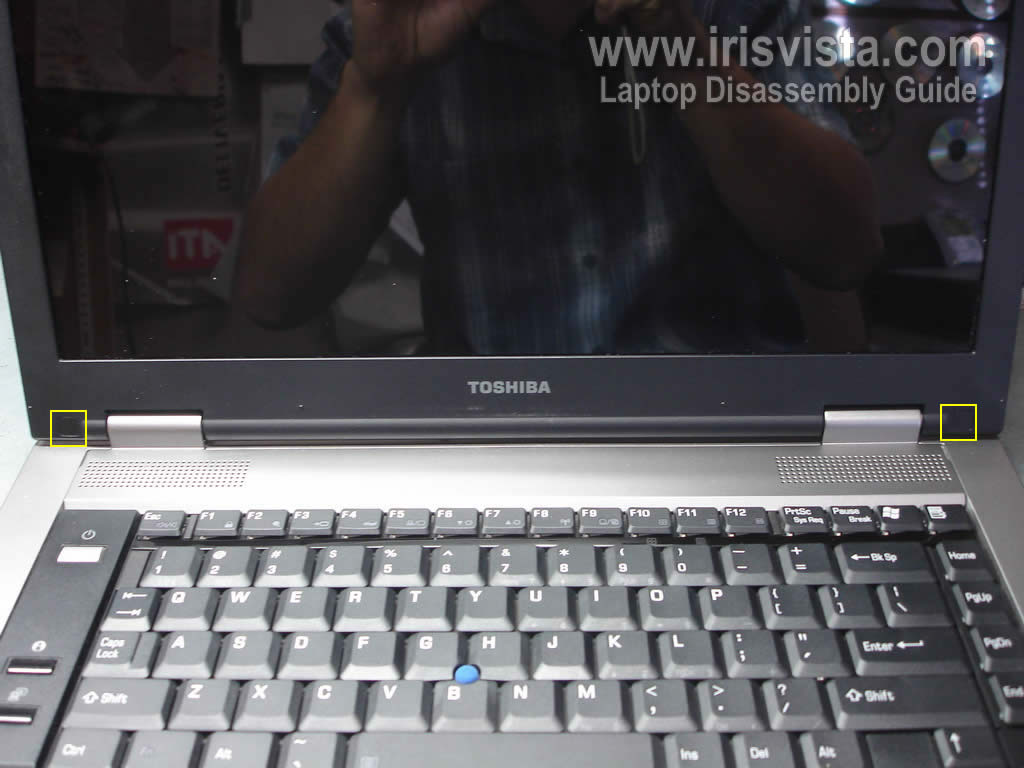
STEP 1
Turn off the laptop and remove the battery.
In order to remove and replace the LCD screen and inverter board we'll have to disassemble the display panel.
You'll find two screw seals in lower left and right corners of the display panel.
|
| |
|
 |
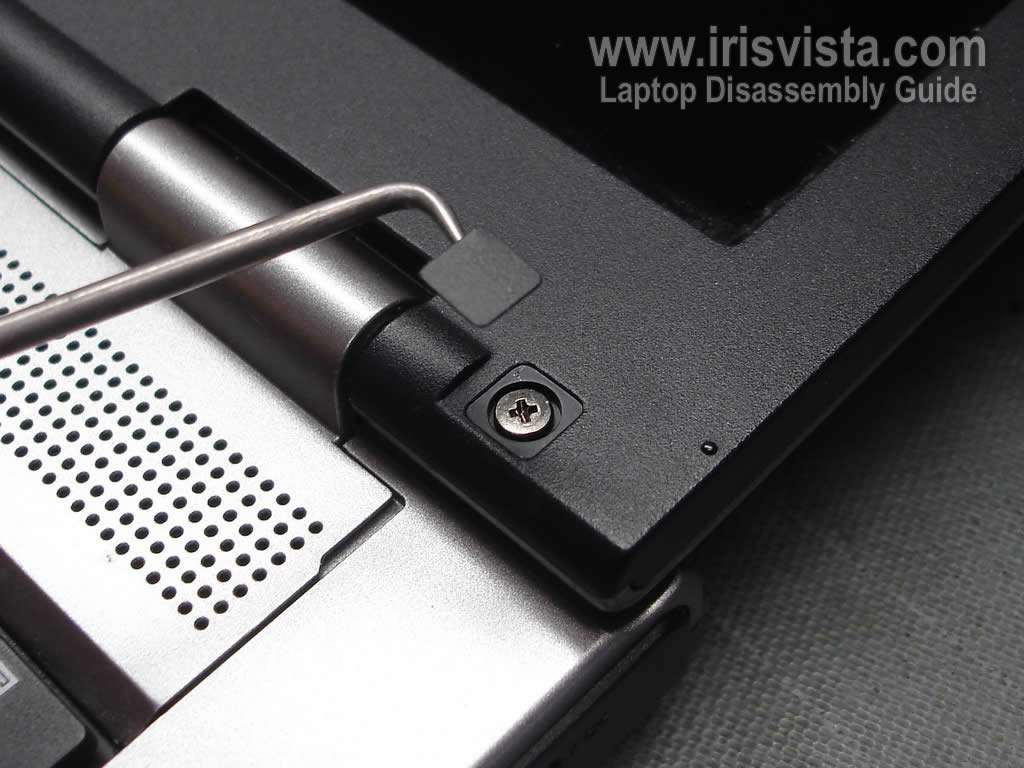
STEP 2
Remove both screw seals and screws found under them.
These screws securing the screen bezel to the display cover.
|
| |
|
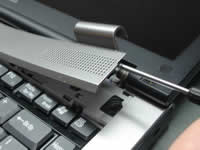 |
STEP 3
I found it's way easier to remove the screen bezel if you remove the speaker cover first.
Insert a flathead screwdriver under the cover and lift it up.
Continue separating the cover from the laptop with your fingers. |
| |
|
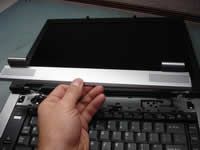 |
STEP 4
Remove the speaker cover.
|
| |
|
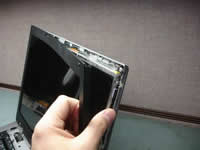 |
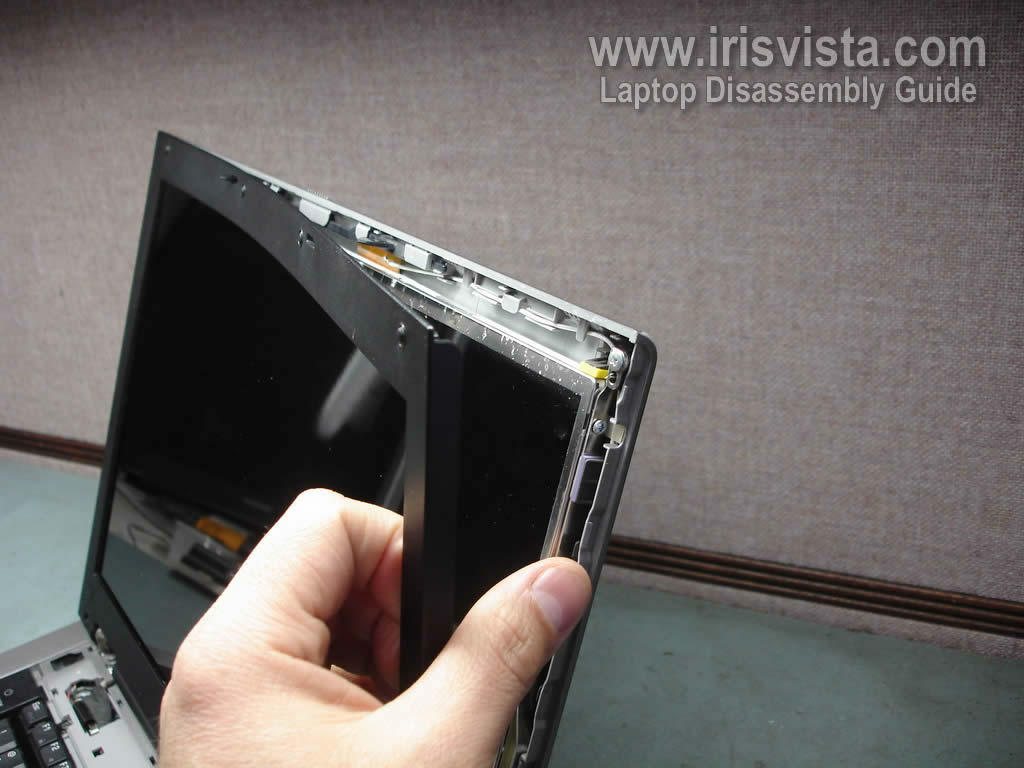
STEP 5
Now you can start separating the screen bezel.
A small piece of soft plastic (I use a guitar pick) can help to separate the bezel from the display cover.
|
| |
|
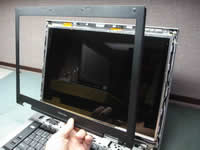 |
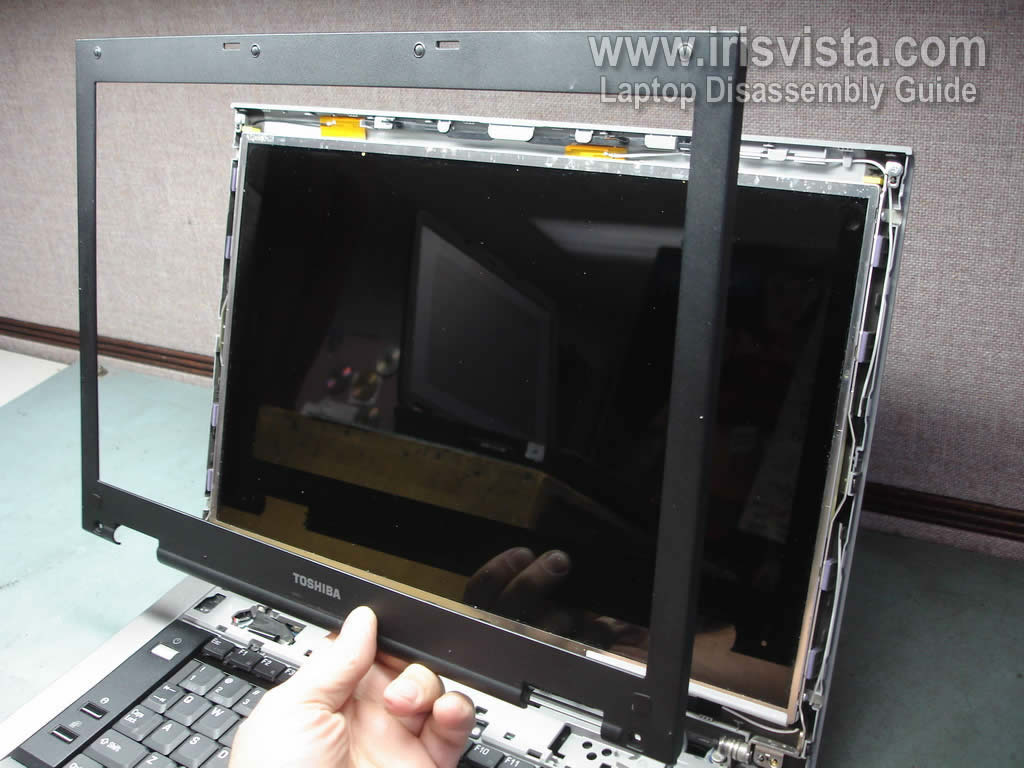
STEP 6
Remove the screen bezel. |
| |
|
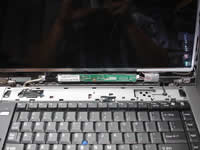 |
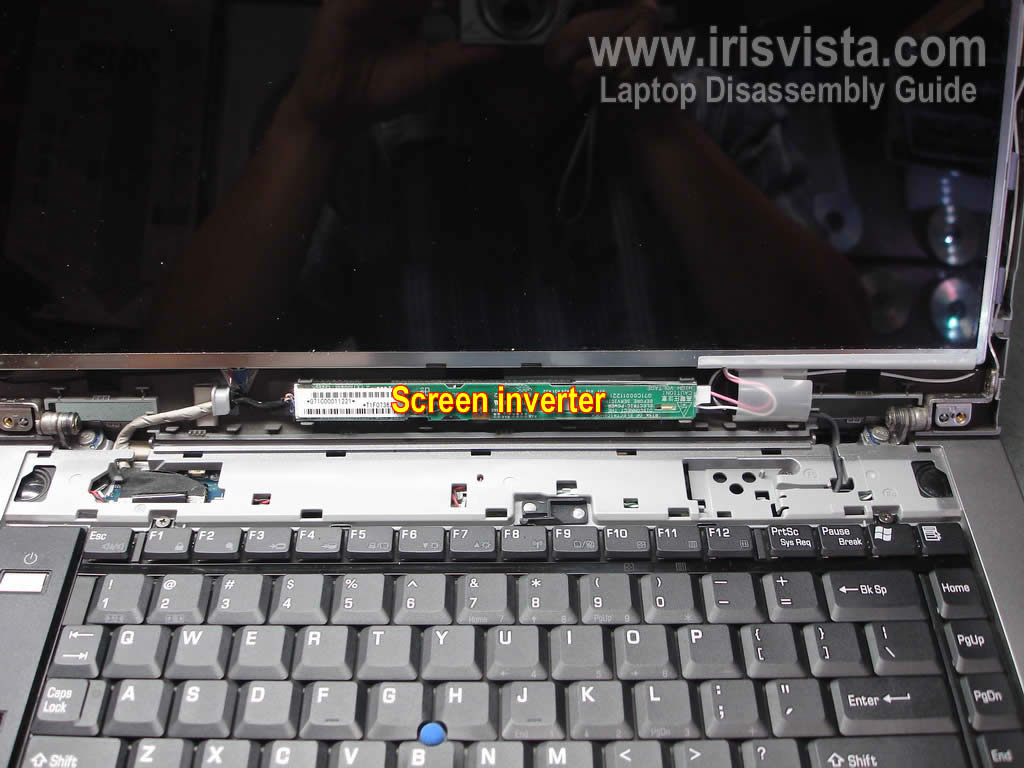
STEP 7
Now you can get access to the inverter board which is mounted below the LCD screen. |
| |
|
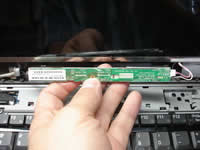 |
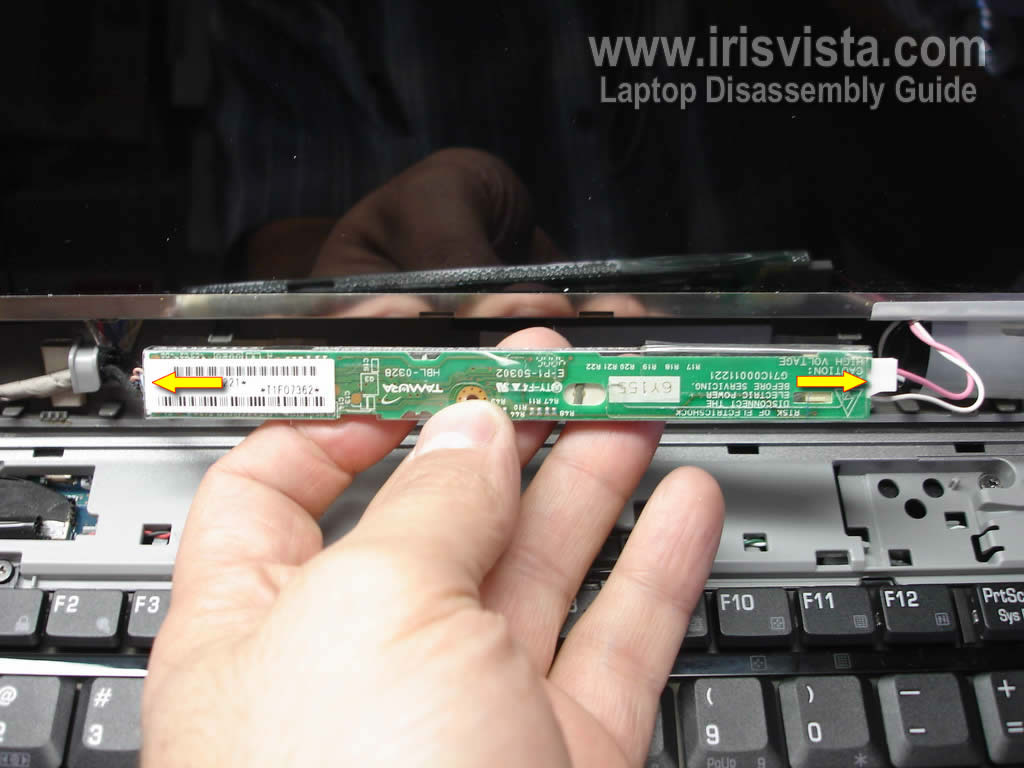
STEP 8
Carefully remove the inverter board from the display assembly and disconnect cables on both ends. |
| |
|
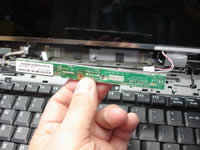 |
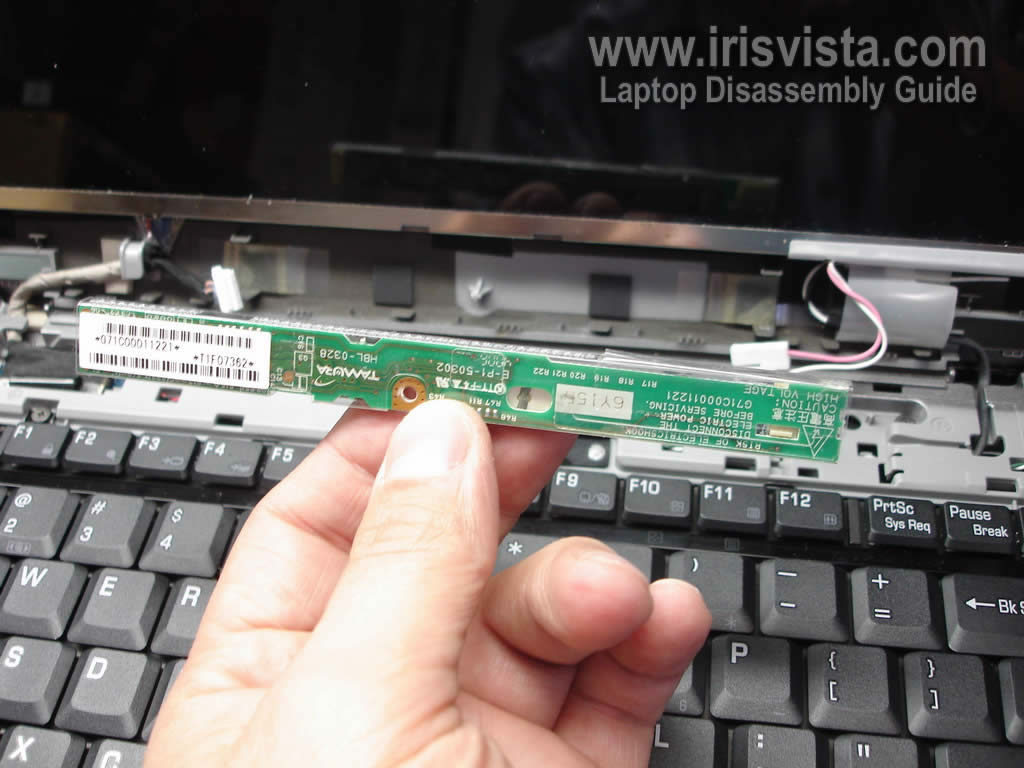
STEP 9
Now you can replace the inverter board with a new one. |
| |
|
 |
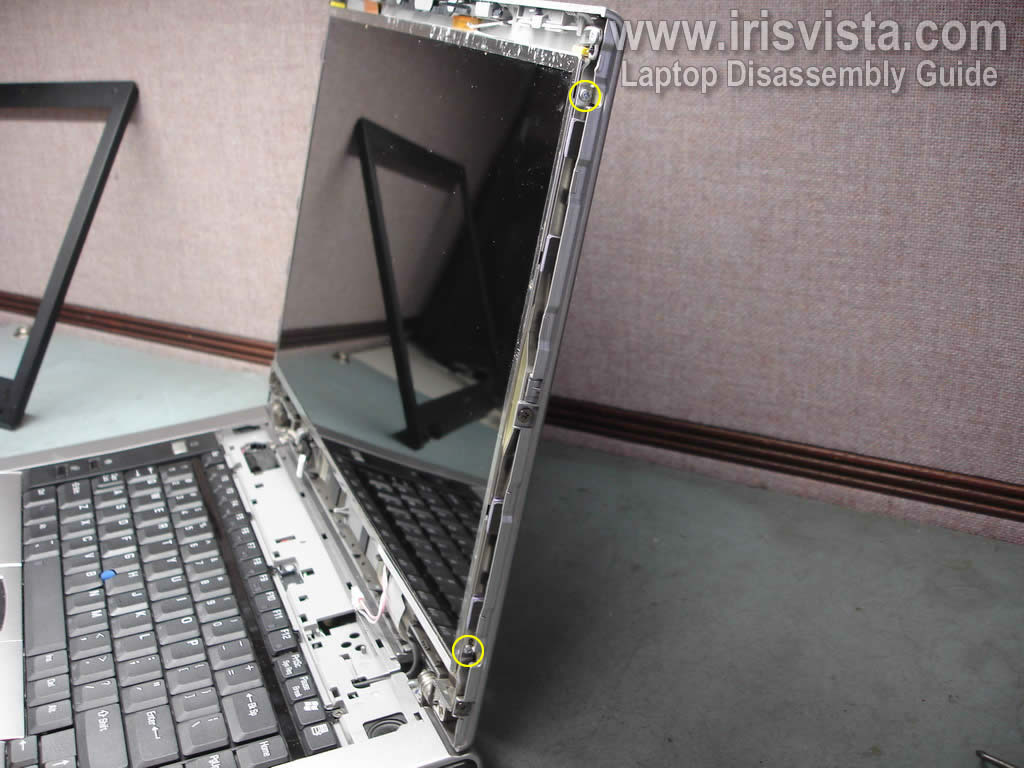
STEP 10
Remove two screws securing the LCD screen on right side of the display assembly.
Do the same on the left side.
|
| |
|
 |
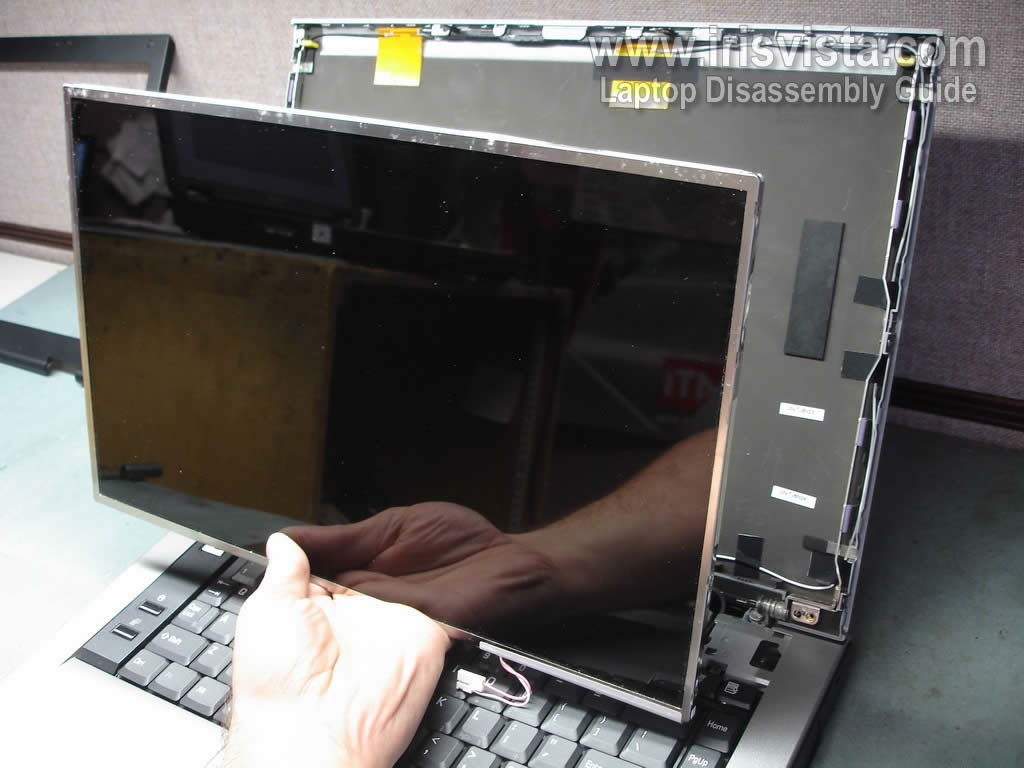
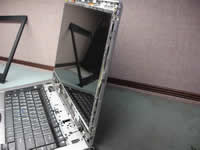
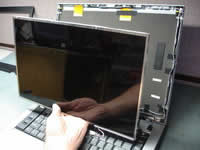
STEP 11
Separate the LCD screen from the display cover and place it face down on the keyboard/palm rest. |
| |
|
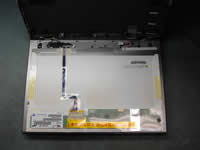 |
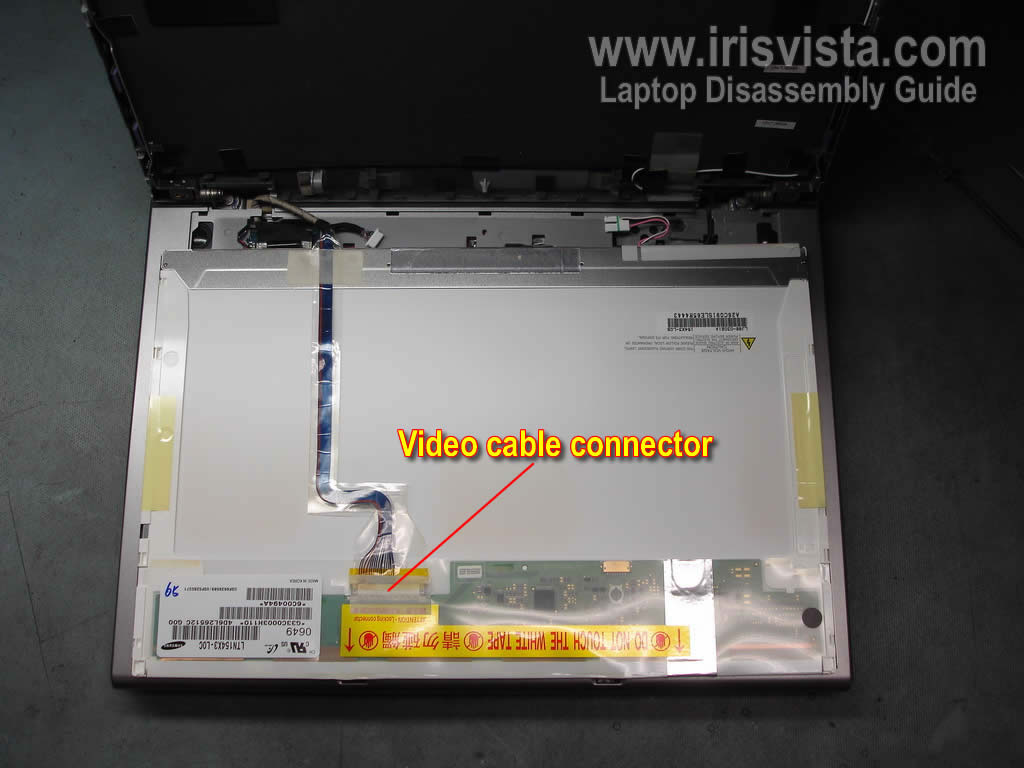
STEP 12
Before you can remove the LCD screen, you have to disconnect the video cable. |
| |
|
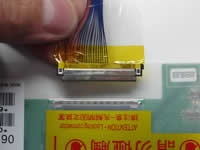 |
STEP 13
Unplug the video cable connector from the connector on the LCD screen. |
| |
|
 |
STEP 14
Remove the LCD screen and replace it with a new one if needed.
In the next guide I explain how to remove the keyboard in Toshiba Tecra A8 and Toshiba Satellite Pro A120 laptops. |
| |
|
|
|