|
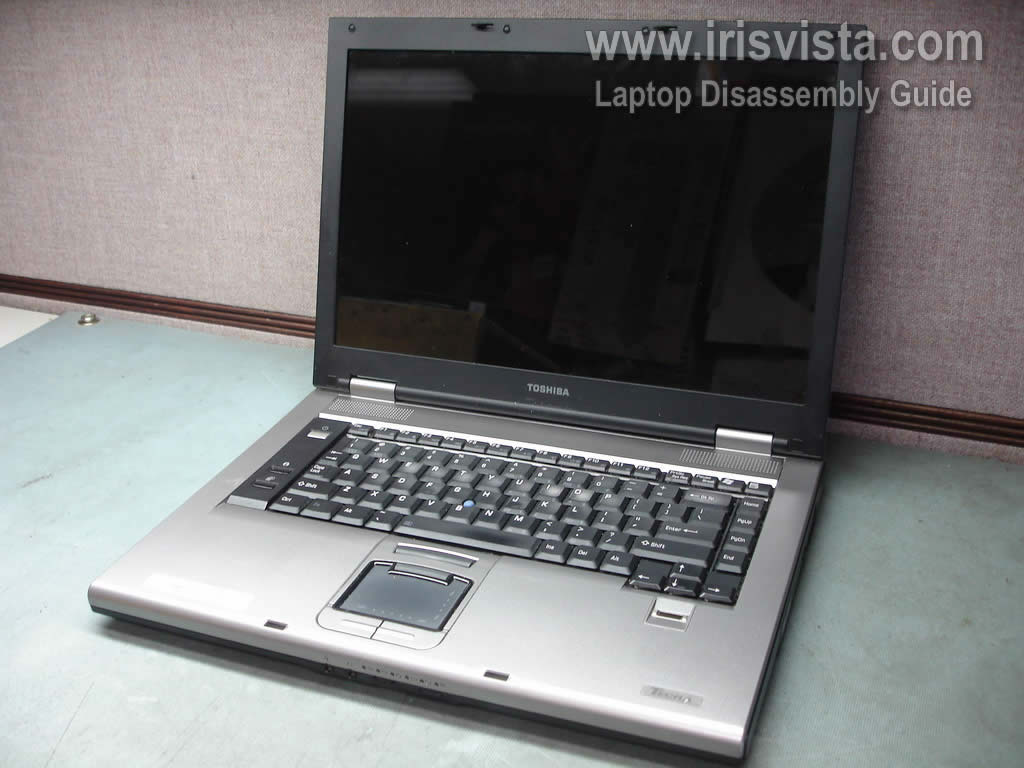
Toshiba Tecra A8, Satellite Pro A120 keyboard replacement. |
|
|
 |
STEP 1
Turn off the laptop and remove the battery.
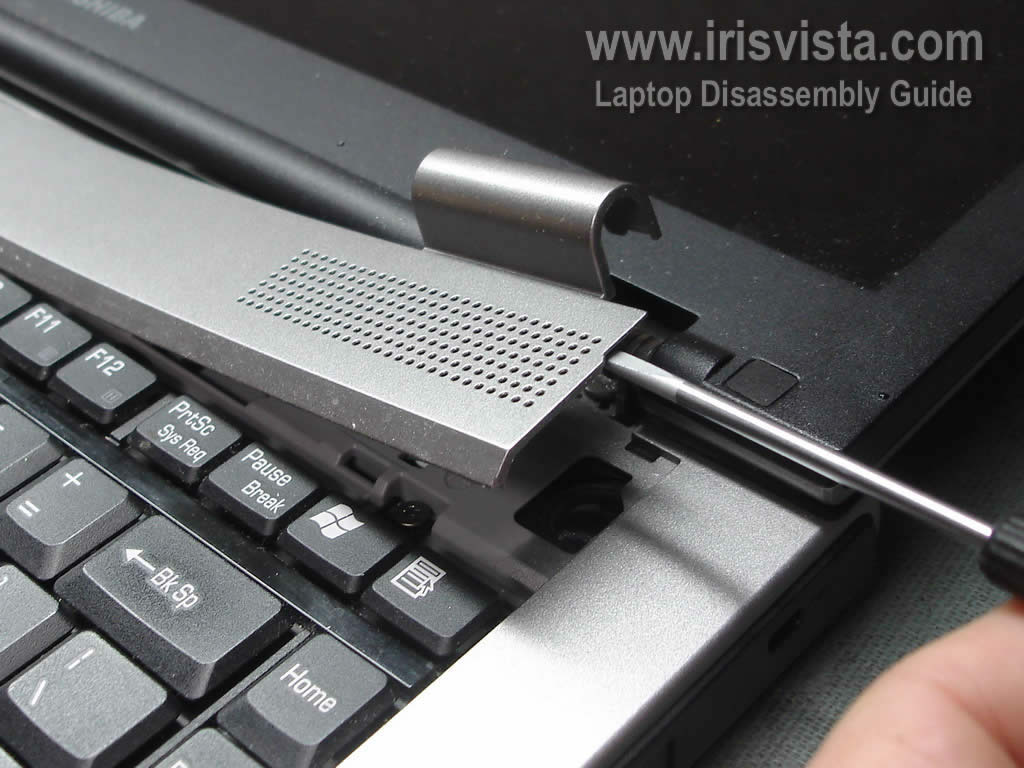
Start disassembly with removing the speaker/hinge cover.
Insert a flathead screwdriver under the cover and carefully lift it up.
|
| |
|
 |
STEP 2
Continue removing the speaker/hinge cover with your fingers.
Remove the cover from the laptop
|
| |
|
 |
STEP 3
Remove two screws securing the keyboard.
Press on the latch above the key F8 and release the keyboard.
|
| |
|
 |
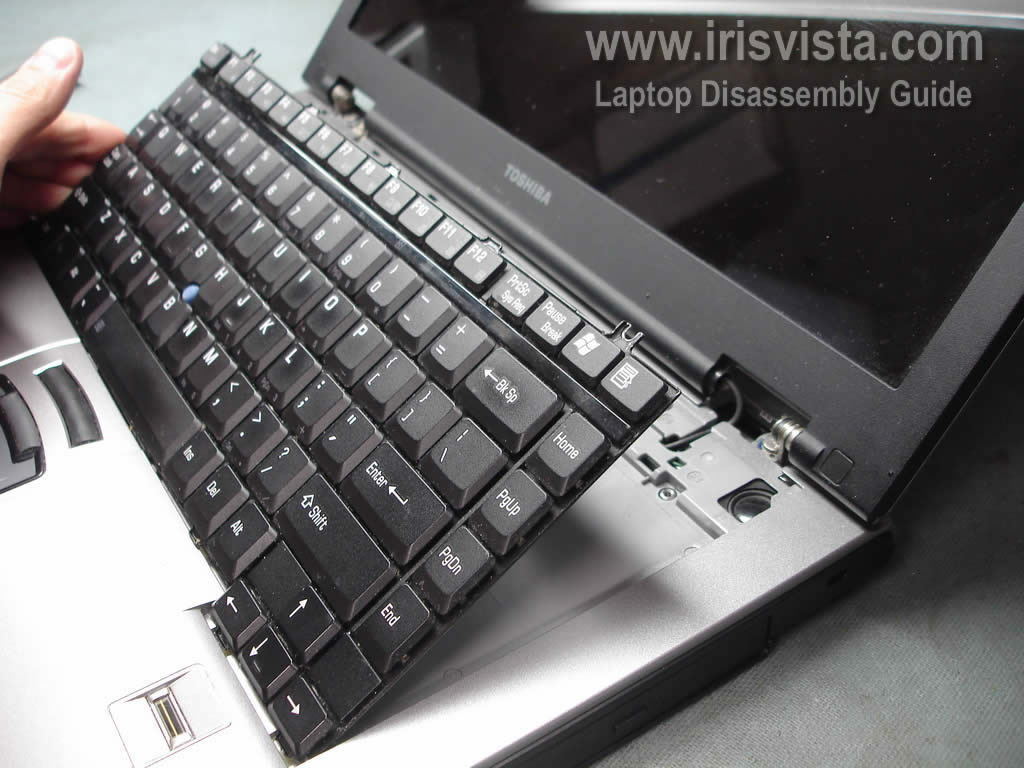
STEP 4
Lift up the keyboard from the laptop.
Be careful, the laptop still attached to the motherboard.
|
| |
|
 |
STEP 5
Place the keyboard upside down on the palm rest.
Remove one screw securing the keyboard connector cover.
Remove the cover. |
| |
|
 |
STEP 6
Place the keyboard so you can access the cable connector.
You have to unlock the connector and only after that you should remove the cable.
WARNING! If you break the connector, you'll have to replace the entire motherboard. |
| |
|
 |
STEP 7
In order to unlock the cable connector, move the brown locking clip about 2 millimeters towards the LCD screen. The brown clip must stay attached to the white base.
Remove the keyboard cable from the connector. |
| |
|
 |
STEP 8
Now you can remove the keyboard and replace it with a new one if needed.
In the next guide I explain how to remove the LCD screen in Toshiba Tecra A8 or Toshiba Satellite Pro A120 laptops. |
| |
|
|
|