 |
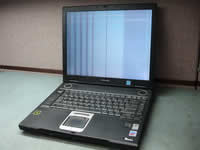
Toshiba Tecra S3 screen removal.
This guide has two pages:
PAGE 1. Removing the display bezel.
PAGE 2. Removing and replacing the LCD screen. |
|
|
 |
STEP 1
First of all, turn off the laptop and remove the battery.
We'll start display disassembly with removing the bezel.
There are four screw seals on the bezel. Two round seals on the top and two square seals on the bottom.
You can remove these screws seals with a small screwdriver. Glue them somewhere on the bezel so they don't get lost.
|
| |
|
 |
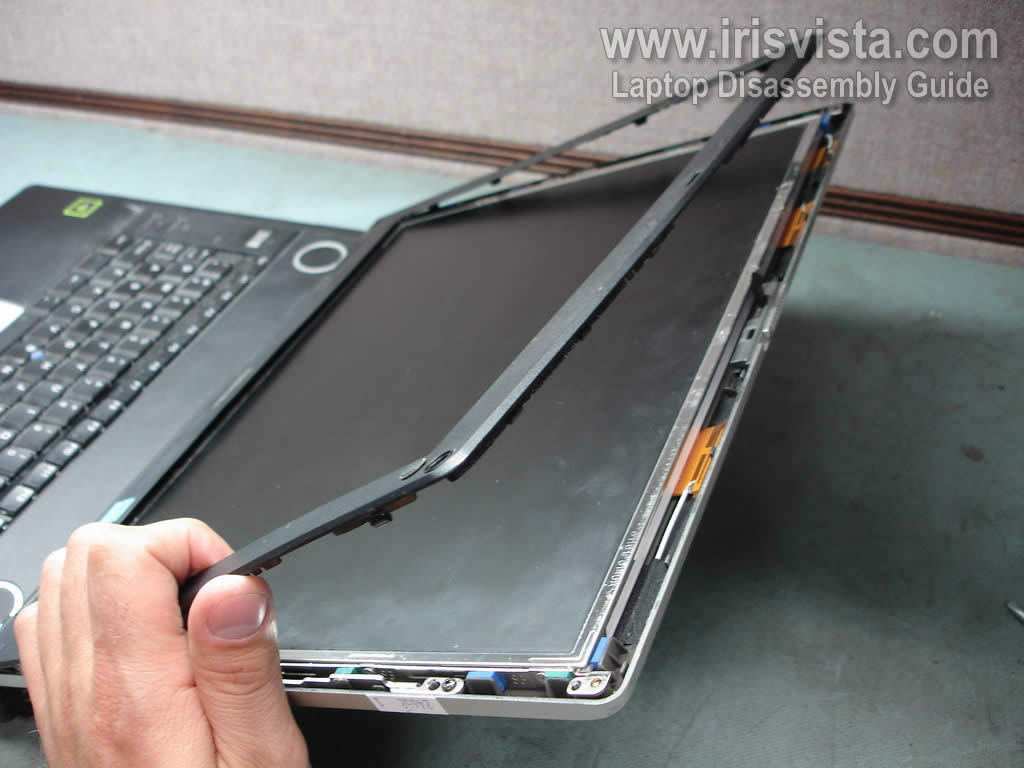
STEP 2
Start separating the bezel from the display cover as it shown on the picture.
|
| |
|
 |
STEP 3
Continue removing the display bezel.
|
| |
|
 |
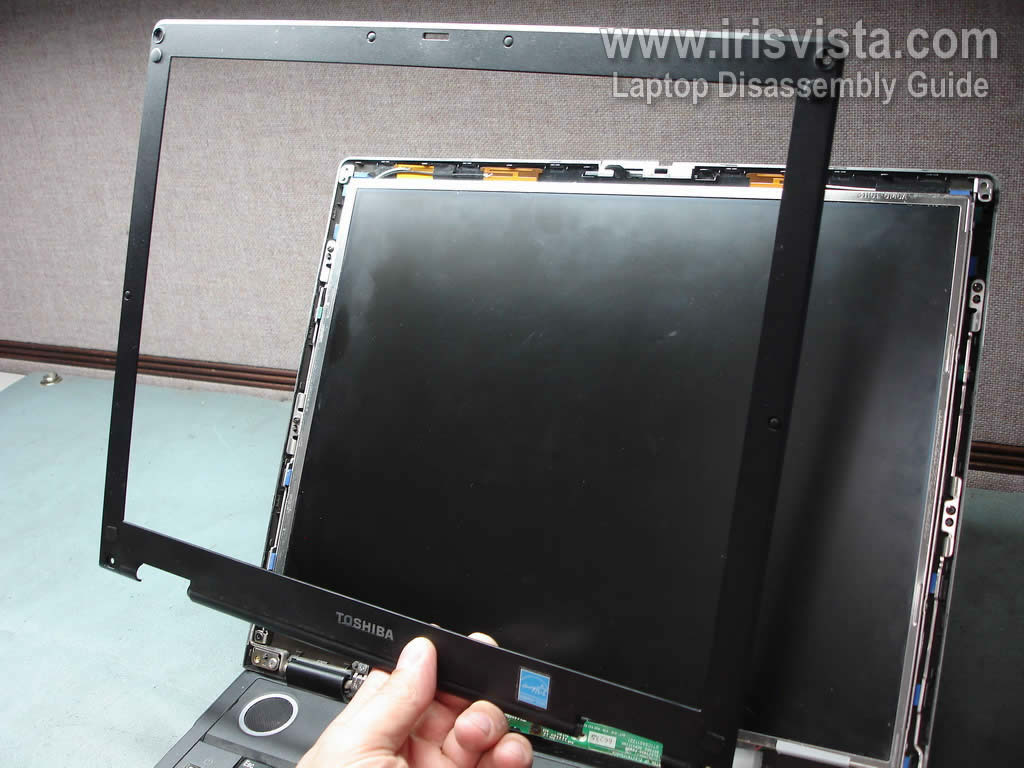
STEP 4
The display bezel has been removed.
|
| |
|
 |
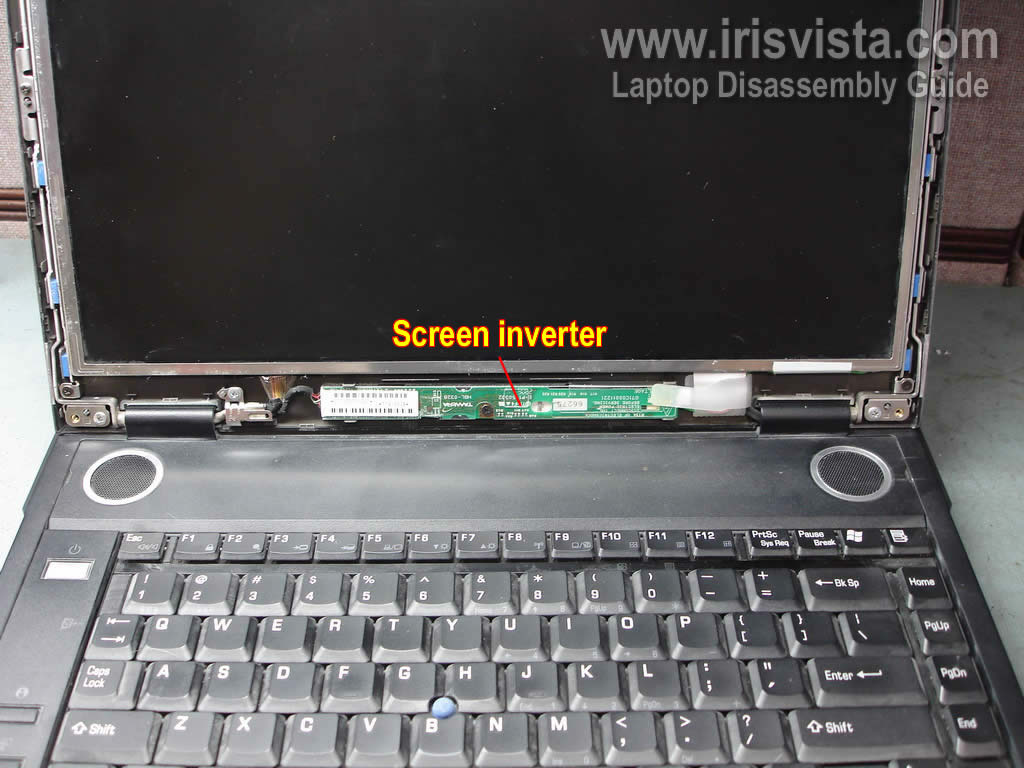
STEP 5
Now you can access the screen inverter board which is mounted below the LCD screen.
|
| |
|
 |
STEP 8
Disconnect the LCD backlight lamp cable from the right side of the inverter board. I'm not replacing the inverter in my case.
If you would like to replace the inverter board, disconnect the second cable on the left side and remove one screw securing the inverter to the cover. Replace the inverter board with a new one. |
| |
|
 |
STEP 9
Remove two screws securing the LCD screen assembly. |
| |
|
 |
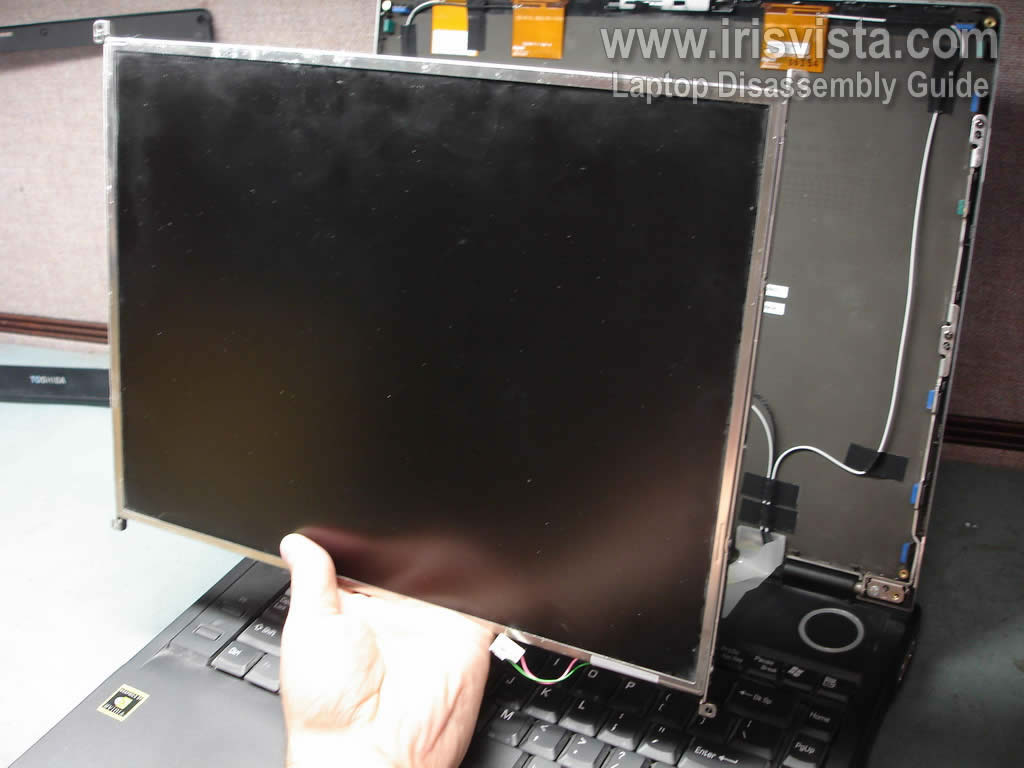
STEP 10
Separate the LCD screen from the display cover and access the video cable connector on the back.
|
| |
|
 |
STEP 11
Carefully disconnect the video cable connector from the connector on the LCD screen. |
| |
|
 |
STEP 12
Remove the LCD screen assembly from the laptop. |
| |
|
 |
STEP 13
If you are replacing the LCD screen (as I do), you'll have to transfer LCD mounting brackets to a new screen.
Remove four screws securing the bracket and remove the bracket. Do the same with the second bracket.
In the next guide I explain how to disassemble the body and remove all internal parts including the motherboard. |
| |
|
|
|