 |
Toshiba Satellite P205, P200 screen removal.
|
|
|
 |
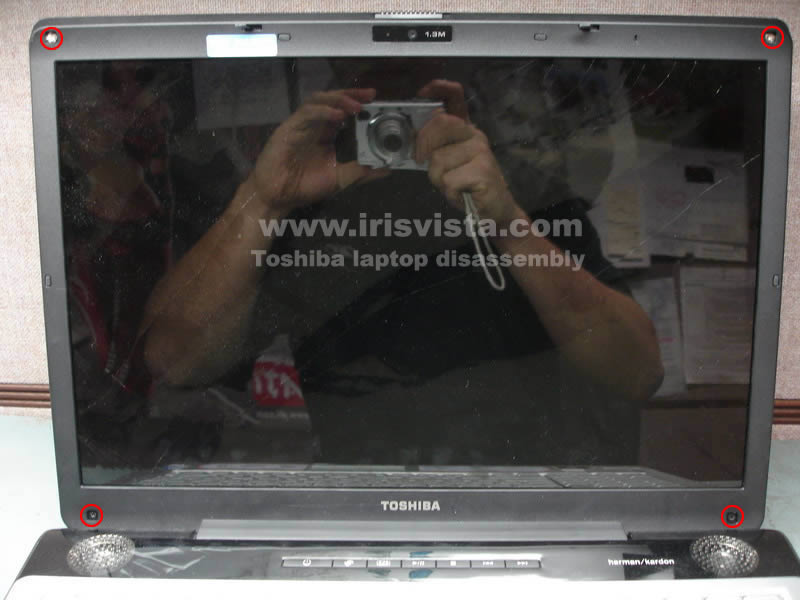
STEP 1
First of all, unplug the power adapter and remove the battery.
Using a sharp object, for example a small flat-head screwdriver, remove for rubber seals from the LCD bezel.
|
| |
|
 |
STEP 2
Now remove all four screws located under the rubber seals. |
| |
|
 |
STEP 3
Start separating the LCD screen bezel from the LCD cover on the top of the panel.
Insert your fingers between the bezel and the LCD screen and carefully release the latches.
|
| |
|
 |
STEP 4
Continue removing the screen bezel working with your fingers.
You can use a guitar pick. It will help you to release the latches, just insert the pick between the bezel and the screen and carefully move along the side. |
| |
|
 |
STEP 5
Finally, you'll have to release the latches on the bottom of the bezel.
This is the hardest part in this disassembly process because the bezel has a strange shape.
You'll see what I'm talking about. :-) |
| |
|
 |
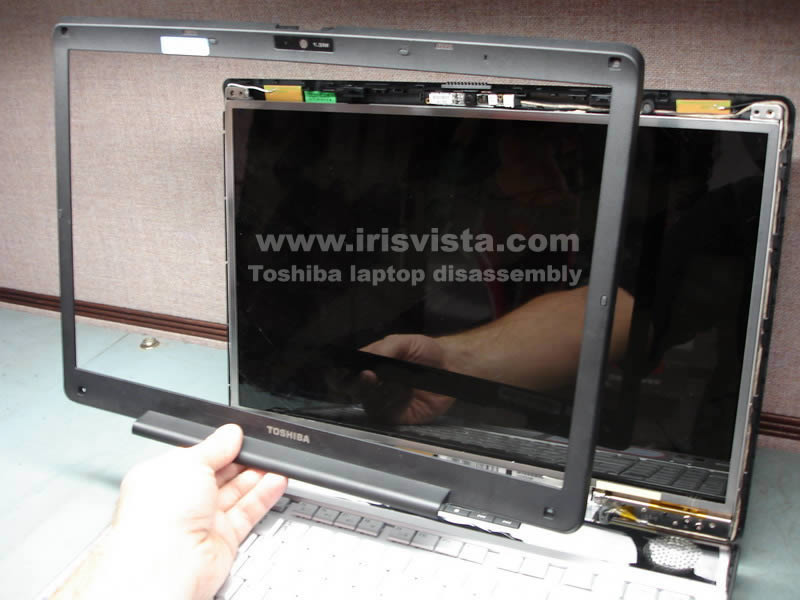
STEP 6
Remove the screen bezel. |
| |
|
 |
STEP 7
Remove six screws securing the laptop hinges to the LCD cover. |
| |
|
 |
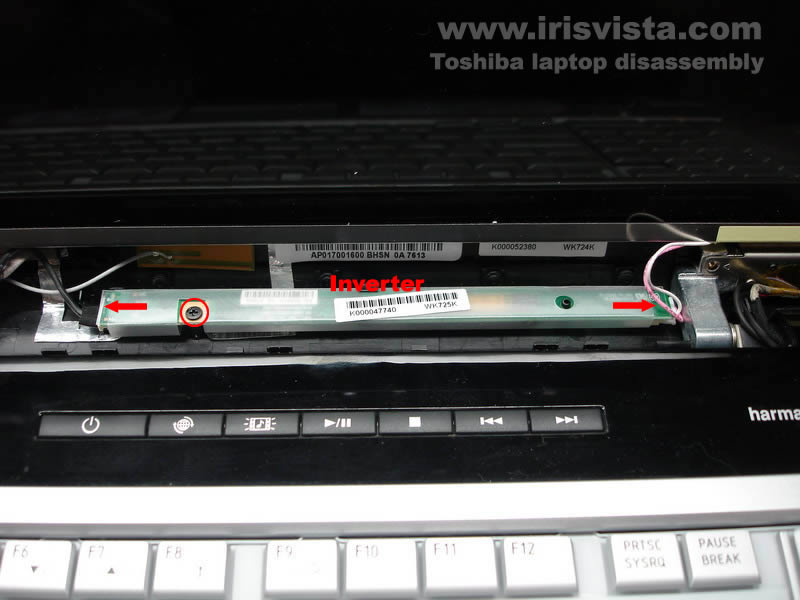
STEP 8
In order to remove the screen inverter you'll have to unplug cables on both sides of the inverter and remove one screw.
Actually, you can do this step before step 7 but it doesn't really matter. |
| |
|
 |
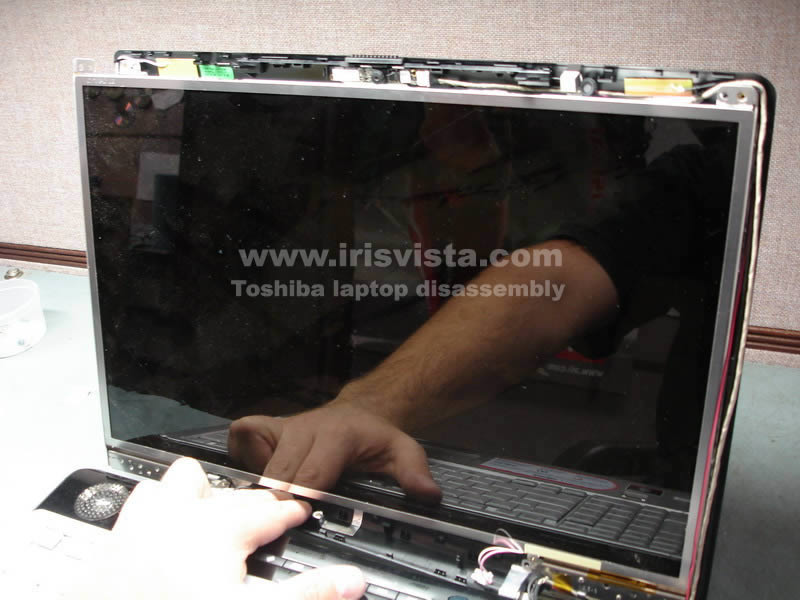
STEP 9
Separate the LCD cover from the LCD.
Carefully push on the LCD cover as it shown on the picture. |
| |
|
 |
STEP 10
Unplug the video cable from the back of the LCD screen. |
| |
|
 |
STEP 11
Remove four screws from each side of the LCD.
These screws secure the LCD screen to the brackets/hinges. |
| |
|
 |
STEP 12
Carefully remove the LCD screen. |
| |
|
 |
STEP 13
Here's the same laptop without LCD and inverter.
Here's comlete disassembly guide. |
| |
|
|
|


